Blackstone Griddle Temperature Guide (Heat Chart)
If you’ve been cooking on your Blackstone for any amount of time, you’ve probably realized that “medium heat” means something different on a flat top than it does on a regular grill. The knob setting that gives you perfect pancakes will leave your smash burgers pale and sad. The setting that gets your sear right will turn eggs into rubber before you finish pouring the coffee. The reason is simple: what matters on a flat top isn’t where the knob is pointing — it’s the actual surface temperature of the griddle steel under your food. That’s the number that tells you whether you’re cooking or just waiting.
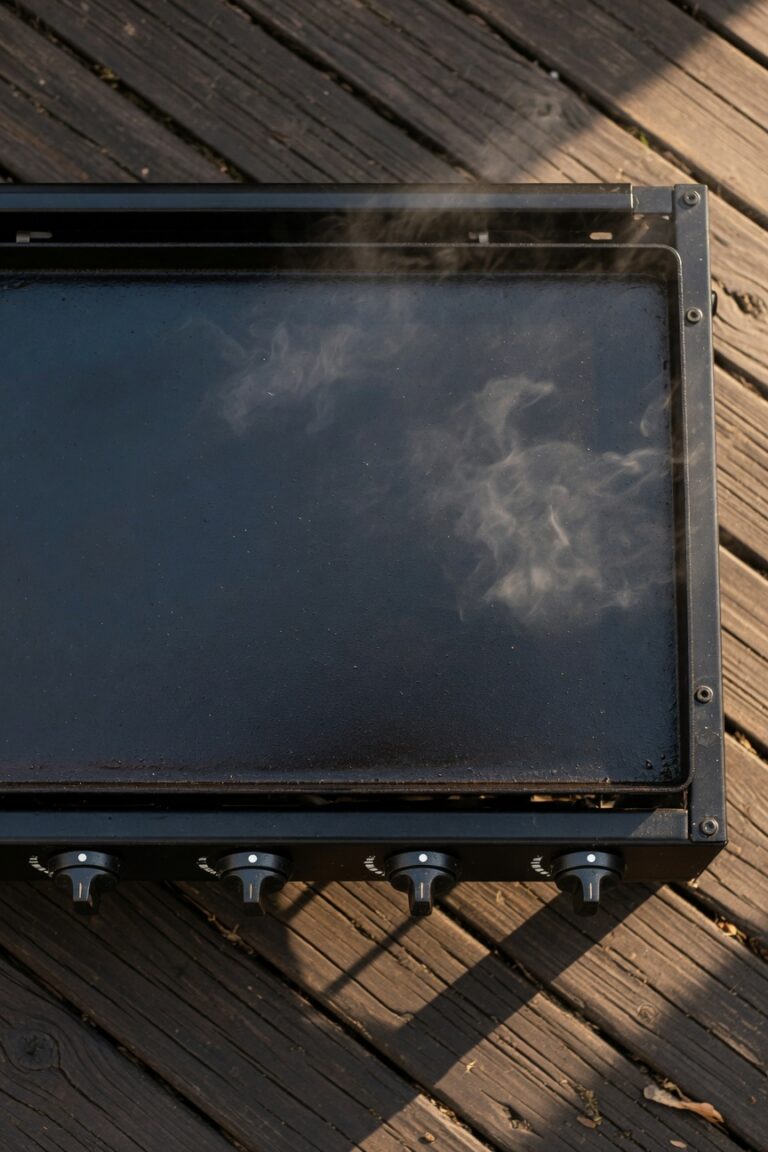
This Blackstone griddle temperature guide gives you the exact surface temperatures — measured with an infrared thermometer directly on the griddle plate — for everything you’re likely to cook. I’ve been running a 36″ Blackstone in Connecticut since April 2026, and the zones concept is the single biggest thing that changed how I cook. You’re not limited to one temperature across the whole surface; you’re running a low zone, a medium zone, and a high zone simultaneously, and food moves between them as it cooks. Once you stop thinking in knob positions and start thinking in surface temps and zones, the griddle starts making a lot more sense.
The Canonical Blackstone Griddle Temperature Chart
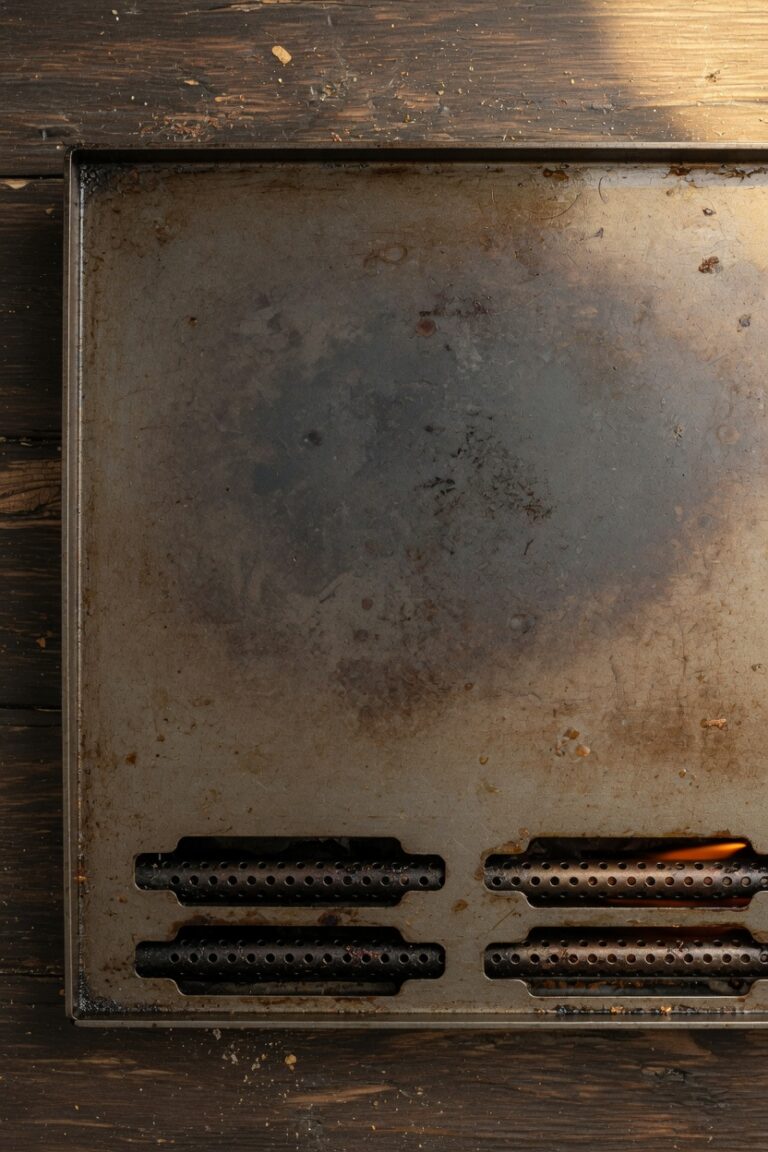
These temperatures are for the cooking surface — the steel plate — not the air above it. Use an infrared thermometer pointed straight down at the griddle from about 6–12 inches away. These are the numbers that the flat-top community has dialed in over years of real-world cooking, and they’re what I use every session.
| Zone / Heat Level | Surface Temp | Best For |
|---|---|---|
| Low / Delicate | 300–325°F | Eggs, omelets, delicate fish |
| Medium / General | 350–375°F | Pancakes, French toast, bacon, sausage, hash browns, vegetables, grilled cheese, quesadillas, regular burgers, chicken (finishing) |
| Medium-High | 375–400°F | Stir-fry, fajitas, hibachi, fried rice, shrimp/scallops |
| High / Sear | 425–450°F | Smash burgers, steak, searing chicken (then drop to 350–375°F to finish) |
That’s the whole chart. Four zones, covering the vast majority of what you’ll cook on a flat top. Bookmark it, print it, or tape it to the side of your propane tank — whatever it takes to keep it handy until the temps become second nature.
Low / Delicate: 300–325°F
This is the zone where anything that can turn rubbery or dry out quickly needs to live. Eggs are the obvious example — scrambled eggs, fried eggs, and omelets all want a surface in the 300–325°F range. At that temperature the egg sets gently without turning brown on the bottom or going tough. Delicate fish like tilapia or flounder also belongs here, where gentle heat lets the protein cook through without seizing up and falling apart.
If you’re cooking eggs and they’re sticking or cooking too fast, the surface is almost certainly too hot. Drop your burner and let the plate cool for a minute before you try again. A lot of Blackstone frustration in the early days comes from running everything at full blast — low-and-slow is a real strategy on the flat top, not just a barbecue concept.
Medium / General Cook: 350–375°F
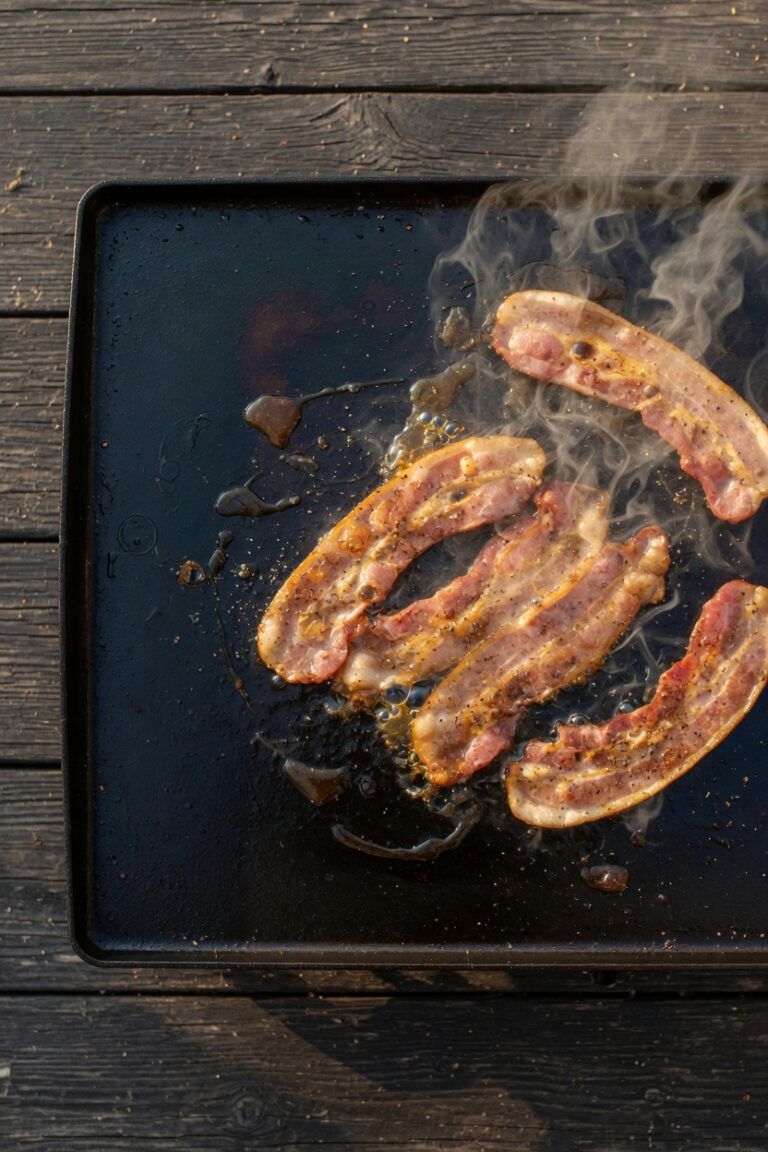
This is the workhorse zone — the range you’ll spend the most time in. Pancakes and French toast need enough heat to get a golden crust without burning, and 350–375°F is the sweet spot. Bacon and sausage render at this temperature without charring before the inside is cooked. Hash browns get crispy rather than soggy. Vegetables caramelize instead of steaming. Grilled cheese and quesadillas melt the cheese without scorching the bread.
Regular burgers — not smash burgers — also belong in this zone. You want the patty to cook through evenly without a charred exterior, and 350–375°F delivers that. Chicken finishing temperature also lives here: after you’ve seared chicken at high heat, you bring it to this zone and let it cook to a safe internal temperature without drying out the outside.
Medium-High: 375–400°F
Once you get into stir-fry and hibachi territory, you need more heat. Fried rice wants a hot plate to get that wok-hei style char without becoming mushy. Fajita vegetables need to blister quickly so they soften without releasing all their liquid and steaming themselves into a limp pile. Shrimp and scallops cook fast and need the heat to build a crust before the inside overcooks — 375–400°F surface temperature is where they shine.
This zone is also useful as a “landing zone” after high-heat searing. You can sear a steak or chicken thigh at 425–450°F and then slide it to a 375–400°F section to rest and come up to temperature without continuing to char on the outside.
High / Sear: 425–450°F
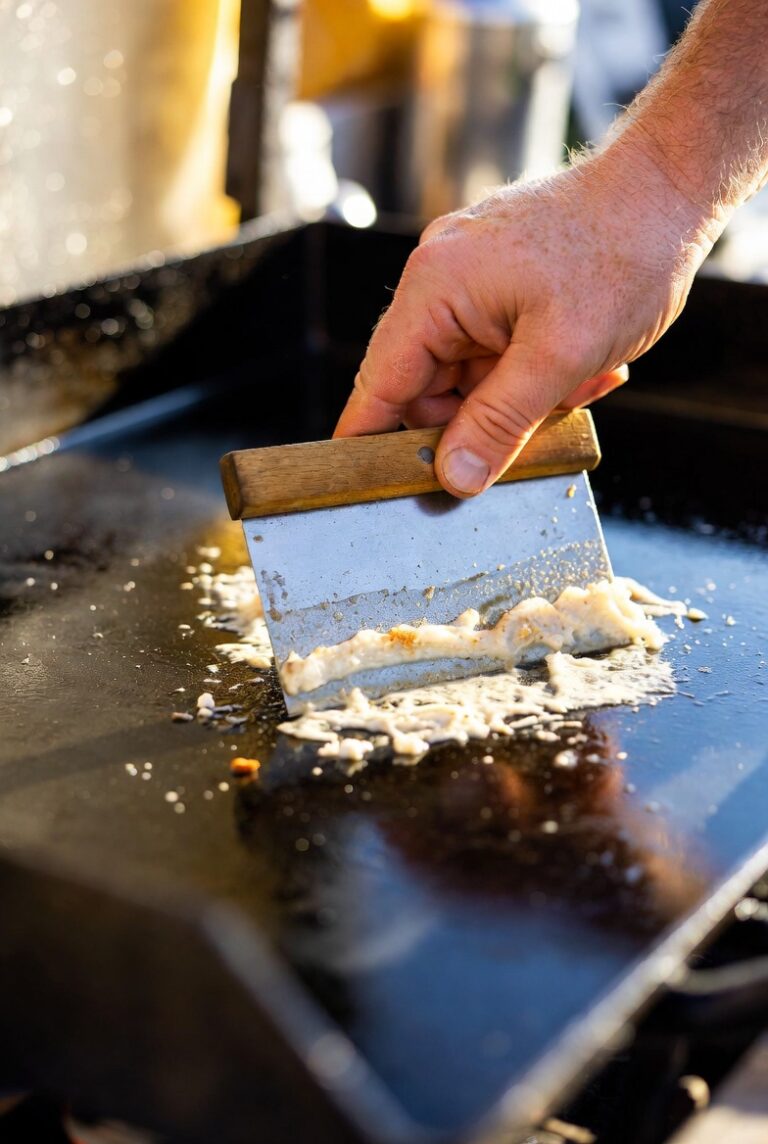
This is the zone that makes a Blackstone earn its keep. Smash burgers absolutely require a ripping hot plate — 425–450°F gives you the Maillard reaction crust that sets a smash burger apart from a regular patty. At lower temperatures the burger steams in its own juice instead of getting that lacey, caramelized edge. Steak searing works the same way: you want the plate hot enough to build a crust in 60–90 seconds per side before you move the meat somewhere cooler to finish.
Chicken goes on at high heat to sear the outside, then drops to 350–375°F to cook through safely to 165°F internal. This two-zone technique is worth practicing — it’s how you get chicken that’s crispy on the outside and fully cooked through without drying out.
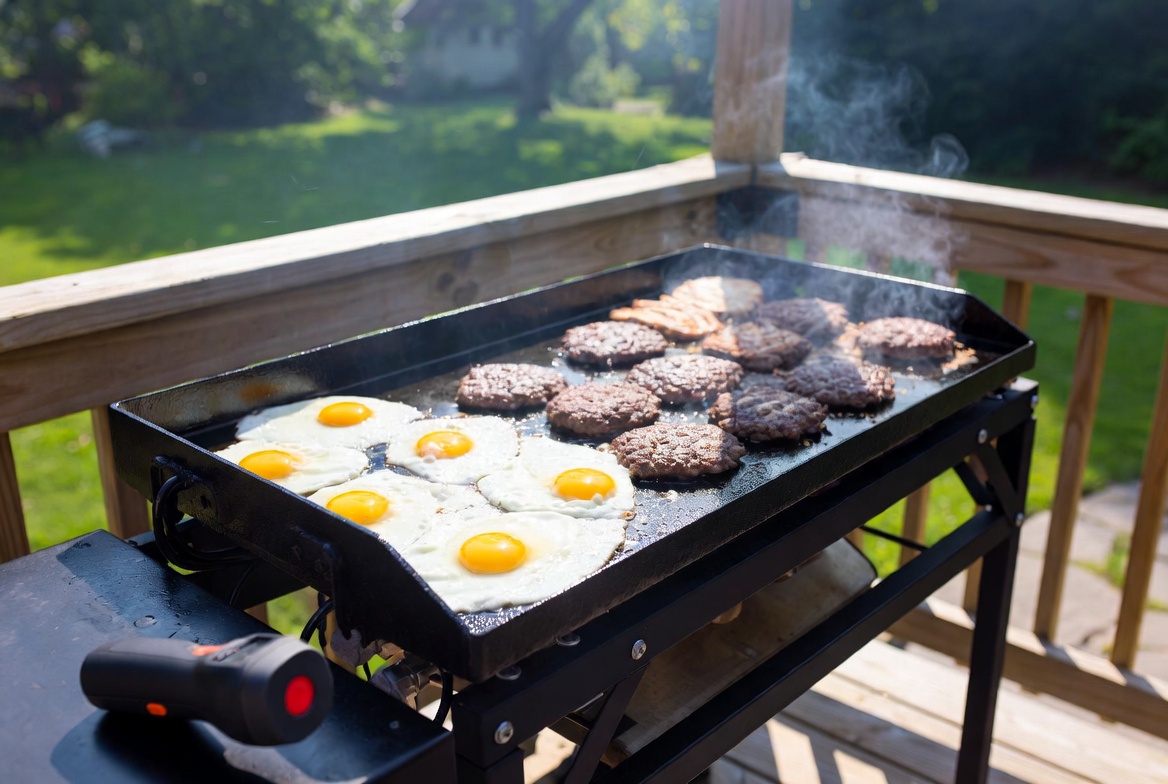
How to Set Up Heat Zones Across a Multi-Burner Griddle
The 36″ Blackstone has four burners running left to right. I typically run three distinct zones when I’m cooking a full meal: the left burner on low (for eggs or to hold finished food warm), the middle two burners on medium (the workhorse zone for most of the cooking), and the right burner cranked up for searing or smash burgers. That gives me a 300°F zone, a 350–375°F zone, and a 425°F+ zone running simultaneously.
A simpler two-zone setup also works well: one side low, one side high. This is great when you’re cooking one main protein alongside vegetables — sear the protein on the hot side, cook the veg on the cooler side, then move the protein over to finish. The key insight is that a flat top isn’t a single-temperature appliance. It’s a range of temperatures that you manage across a wide steel surface, and once you start thinking that way your efficiency and results improve significantly.
If your griddle doesn’t seem to be reaching these temperatures evenly across the surface, or if one side runs hotter than the other, the Blackstone not heating evenly guide covers the common causes — including the cooler dead zone near the front edge that a lot of people don’t realize exists.
How to Actually Measure Griddle Surface Temperature
You cannot reliably estimate surface temperature by looking at the griddle, holding your hand above it, or watching whether water droplets dance or immediately evaporate. These tricks give you a rough sense of “hot” vs. “cold,” but they won’t tell you whether you’re at 325°F or 375°F — and that 50-degree difference matters a lot when you’re cooking eggs or pancakes.
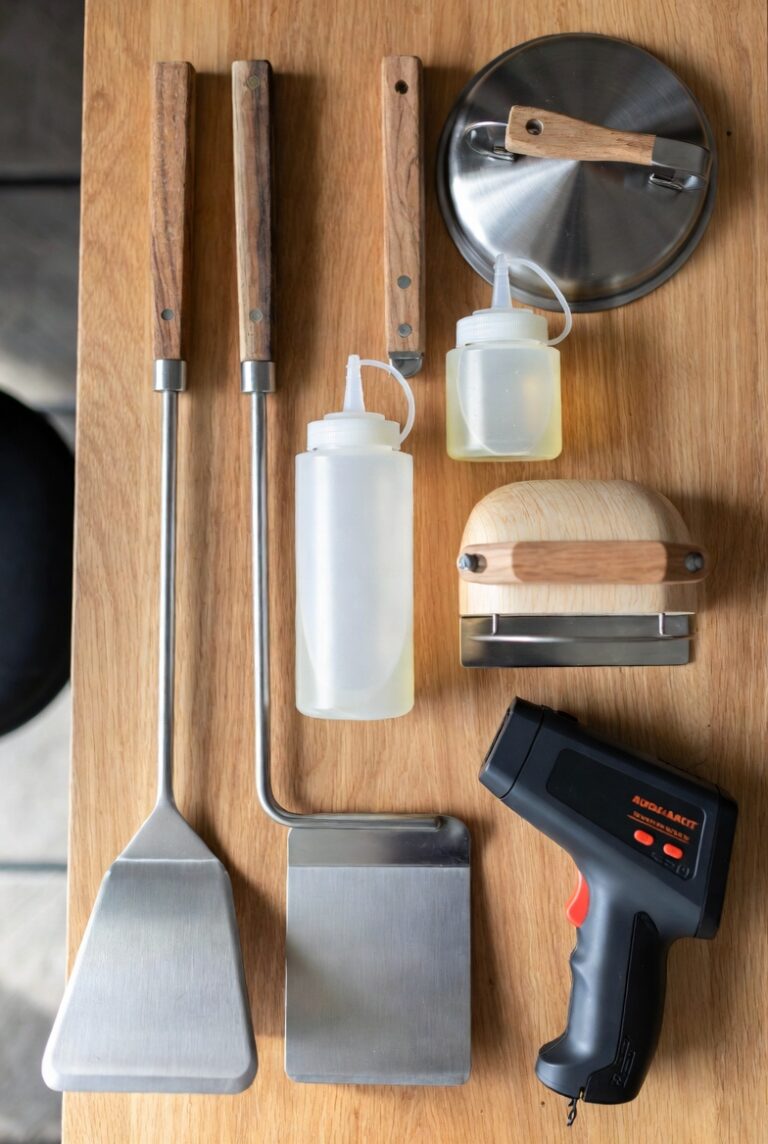
The right tool is an infrared thermometer. Point it at the cooking surface from 6–12 inches away, pull the trigger, and you get the actual surface temperature in about a second. A good one costs $20–$40 and it immediately changes how you cook. The plate takes time to even out after you turn the burners on, and different burner settings get you to different temperatures depending on ambient temperature and wind — so checking with a thermometer every time you cook gives you real information rather than a guess.
Seasoning Temperature vs. Cooking Temperature
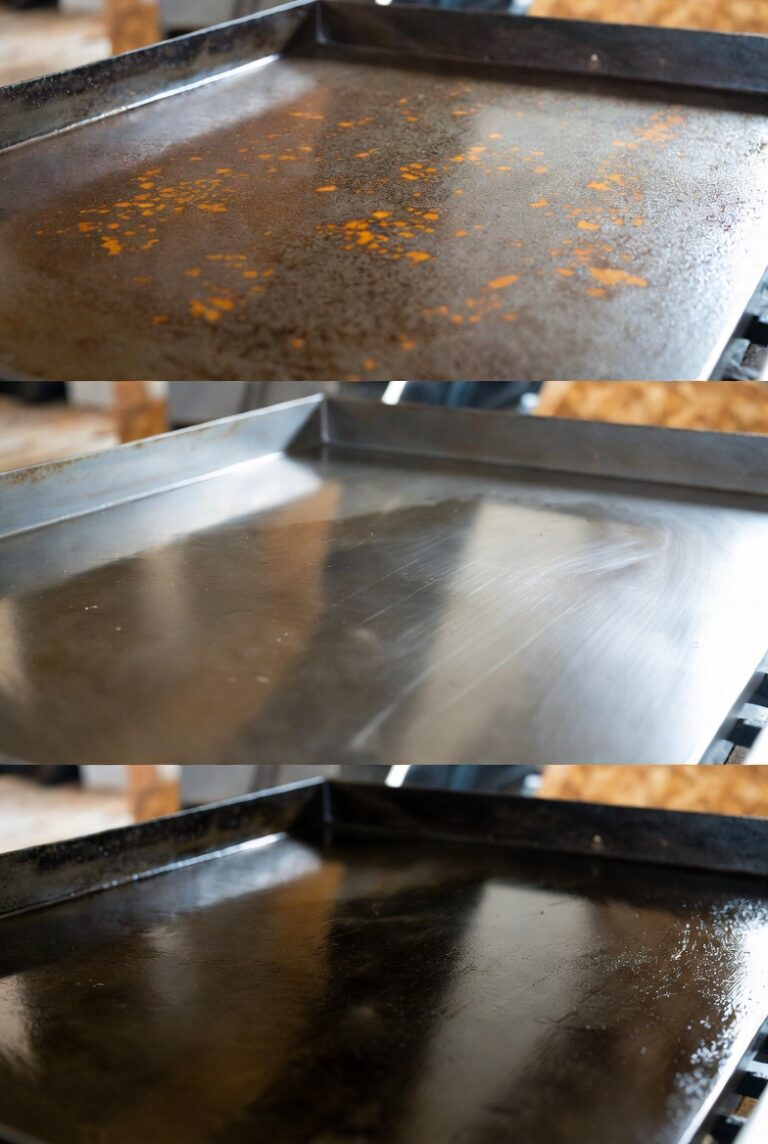
There’s a source of confusion that trips up a lot of new Blackstone owners: the temperatures used to season and re-season your griddle are much higher than the temperatures you cook food at. When you’re seasoning your Blackstone for the first time, or re-seasoning after a full strip-down, you run the burners on high until the griddle reaches 450–500°F or hotter — hot enough for the oil to smoke and polymerize into a hard, protective non-stick coating. That process can take 15–20 minutes per layer.
That’s a completely different operation from cooking food. The chart above — 300°F for eggs, 425–450°F for smash burgers — is for food only. During seasoning, you’re not cooking anything; you’re building the surface itself. If you see posts or videos showing a Blackstone running at 500°F+, they’re almost certainly talking about the seasoning process, not a recipe. Running your food at seasoning temperatures will incinerate it.
The short version: season hot, cook at the temperatures in the chart above. Keep those two operations mentally separate and you’ll avoid a lot of confusion — and a lot of ruined food.
Quick FAQ: Blackstone Griddle Temperatures
What temperature should I cook eggs on a Blackstone?
300–325°F. Eggs cooked on a surface hotter than 325°F tend to set too fast, go rubbery, or brown on the bottom before the top is fully cooked. Let the griddle cool down from your preheat, oil it lightly, and keep the burner on low. If your eggs are sticking, the surface is almost certainly too hot, not too cold.
What temperature do I need for smash burgers?
425–450°F surface temperature. The whole point of a smash burger is the Maillard reaction crust you get when a thin patty hits a ripping hot plate. Below 400°F the burger steams instead of searing, and you lose the crispy, lacey edge that makes a smash burger what it is. Check your surface with a thermometer before you start smashing.
What temperature do I cook chicken on a Blackstone?
Sear at 425–450°F, then drop to 350–375°F to finish cooking through. Chicken needs to reach 165°F internal temperature, but if you cook it at sear temperature the whole time you’ll char the outside before the center is done. The two-zone method — sear high, finish medium — is the standard approach for chicken on the flat top.
Why is my food sticking to the Blackstone griddle?
The most common cause is that the griddle surface is too cold. Food sticks when it hits a surface that isn’t hot enough to create the steam layer and initial sear that releases it from the steel. Make sure you’re hitting the right temperature for what you’re cooking (use the chart above), and make sure you’re using enough oil. If sticking persists even at proper temperatures, the seasoning may need attention — see the common Blackstone mistakes guide for a full rundown of the usual culprits including seasoning problems, too little oil, and moving food too soon.