What to Cook First on a Blackstone Griddle (Start Here)
So you just got a Blackstone griddle. It’s sitting there in your backyard looking amazing, and you’re standing in front of it wondering what the hell you should cook first. I was in the exact same spot a few weeks ago, and I’m telling you — your first cook matters. Not because you need to impress anyone, but because you want something that’s actually going to work, taste great, and make you think “okay, I get why people are obsessed with these things.”
Smash Burgers
Ingredients
Method
- Divide 2 pounds of ground beef into 8 equal portions, roughly 4 ounces each. Roll them into loose balls without overworking or packing them tight.
- Prepare all toppings and have cheese slices separated and ready to go.
- Turn on Blackstone griddle and set all burners to high, aiming for 400-425°F on the griddle surface.
- Let griddle preheat for 10-15 minutes until water flicked on the surface sizzles and evaporates almost immediately.
- Drizzle or spray a thin layer of oil across the cooking surface while it heats.
- Place a ball of beef on the griddle and immediately press down hard with spatula to smash it thin, about 1/4 inch thick. Press only once.
- Season the top generously with salt and pepper while the bottom is searing.
- Cook for 2-3 minutes on the first side until edges turn brown and crispy and the top starts to change color about halfway up the patty.
- Flip the burger in one confident motion. It should release easily when properly seared.
- Immediately place a slice of cheese on top after flipping.
- Cook the second side for 1-2 minutes until cheese melts and burger finishes cooking through.
- While burgers finish, butter the cut sides of buns and toast them face-down on a cooler zone of the griddle for 60-90 seconds until golden brown.
- Remove burgers from griddle and assemble with desired toppings.
Notes
- Don't use lean beef - the 80/20 ratio provides necessary fat for flavor and moisture
- Work in batches if needed to avoid overcrowding the griddle
- Use two spatulas for easier smashing and flipping
- Don't press the burger after the initial smash as it squeezes out juice
- Beef should be room temperature or fully thawed, not frozen
- American cheese melts better than other cheeses for smash burgers
- The griddle surface should be between 400-425°F
- After cooking, scrape griddle while still warm, wipe down, and add a thin layer of oil
Here’s my advice: cook smash burgers. Not fancy steaks, not complicated hibachi rice, not some elaborate breakfast spread. Just really good smash burgers. They’re nearly impossible to screw up, they teach you the basics of heat management, and they’re going to taste better than any burger you’ve made on a regular grill. Plus, if you’ve got a new griddle, the seasoning process benefits from cooking something with fat content, and smash burgers deliver exactly that.
Let me walk you through exactly how to do this right.
Why Smash Burgers Are Perfect for Your First Cook
Smash burgers are the ideal first recipe because they’re forgiving and fast. You’re working with high heat and short cook times, which means you get immediate feedback on how your griddle responds. You’ll learn how to manage temperature zones without the pressure of trying to perfectly sear a $30 steak.
The other reason? They’re genuinely delicious. The flat surface of the Blackstone creates crust development that a regular grill just cannot match. All those little crispy edges and caramelized beef bits stay right on the burger instead of falling through grates or causing flare-ups. The first time I pulled a smash burger off my griddle, I understood why people were making such a big deal about these things.
You’re also going to render some fat onto that cooking surface, which helps continue the seasoning process on your griddle. Even if you’ve done the initial seasoning correctly, cooking fatty foods in those early sessions helps build up that non-stick layer everyone talks about.
What You’ll Need
Ingredients
- 2 pounds ground beef (80/20 blend — don’t go leaner)
- 8 burger buns (potato buns work great)
- 8 slices American cheese (yes, American — this isn’t the time for fancy cheese)
- Salt and pepper
- Butter for toasting buns
- Optional toppings: lettuce, tomato, pickles, onions, whatever you like
Equipment
- Your Blackstone griddle (obviously)
- Two sturdy metal spatulas — this is critical, you need the leverage
- Infrared thermometer or the built-in thermometer if your model has one
- Small bowl of water for temperature testing
Step-by-Step Instructions
Prep Work
Before you even think about turning on the griddle, portion your beef. Divide that 2 pounds into 8 equal portions, roughly 4 ounces each. Roll them into loose balls. Don’t overwork the meat or pack them tight — you want them to fall apart easily when you smash them. This is not meatloaf.
Get all your toppings ready and within reach. Slice your onions and tomatoes, grab your pickles, wash your lettuce. Have the cheese slices separated and ready to go. Trust me on this — once you start cooking, things move fast, and you don’t want to be digging through the fridge looking for condiments while your burgers are cooking.
Fire It Up
Turn on your Blackstone and set all burners to high. Yes, high. We’re going for 400-425°F on the griddle surface. This is going to feel hot, and that’s exactly what you want.
Let it preheat for about 10-15 minutes. I know that feels like forever when you’re excited to cook, but an evenly heated griddle makes a massive difference. You’ll know it’s ready when you flick a little water on the surface and it sizzles and evaporates almost immediately.
While it’s heating up, drizzle or spray a thin layer of oil across the cooking surface. I use avocado oil because it has a high smoke point, but vegetable oil or canola work fine too. You don’t need much — just enough to coat the surface.
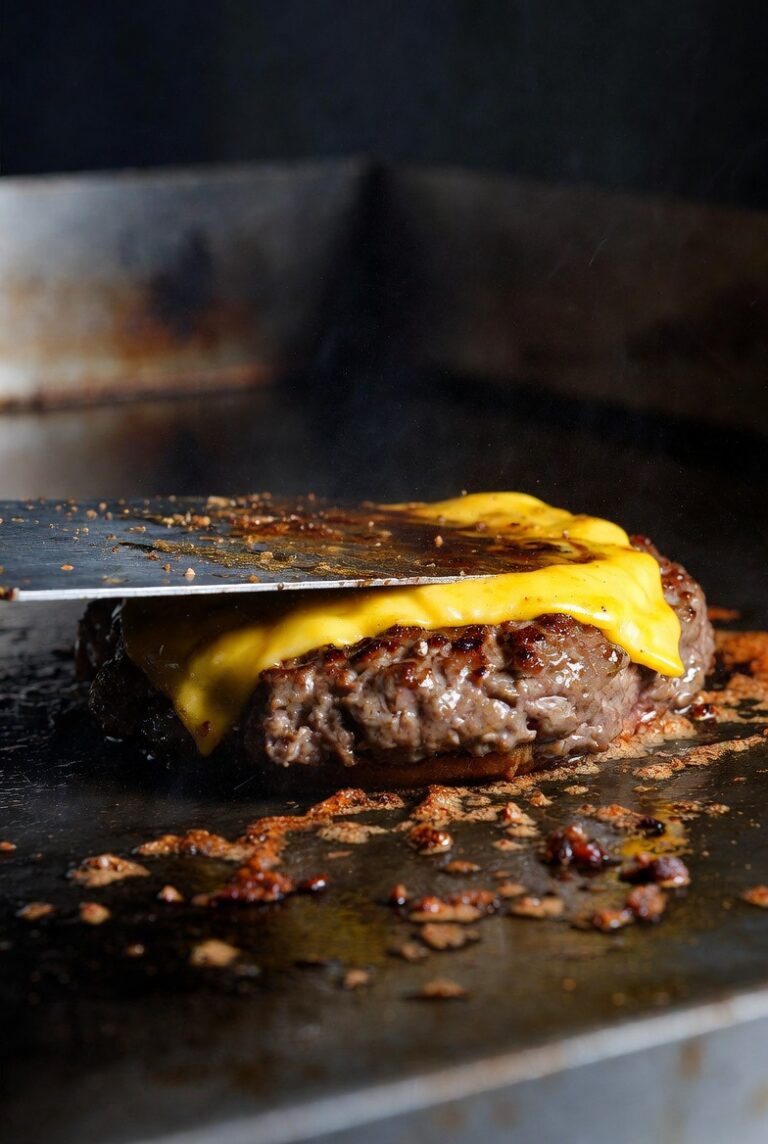
The Smash
Once your griddle hits 400-425°F, you’re ready to cook. Place a ball of beef on the griddle. Immediately press down hard with your spatula. I mean really press. You want to smash that burger thin — about 1/4 inch thick. Some people use a burger press, but honestly, a good spatula and some elbow grease work perfectly.
Here’s the key: you get one smash. That’s it. You press it once when you first put it down, and then you leave it alone. Don’t press it again. Don’t push on it. Don’t mess with it. Just let it cook.
Season the top generously with salt and pepper while the bottom is searing. You’ve got about 2-3 minutes on this first side. You’re waiting for the edges to turn brown and crispy, and for the top to look like it’s starting to change color about halfway up the patty.
The Flip
Slide your spatula under the burger and flip it in one confident motion. If it’s sticking a little, it’s not ready yet — give it another 30 seconds. When it’s properly seared, it should release pretty easily.
Once you flip it, immediately place a slice of cheese on top. You’re only cooking this second side for about 1-2 minutes, just long enough for the cheese to melt and the burger to finish cooking through. The burger is thin enough that you don’t need to worry about undercooking — that hard sear on the first side did most of the work.
Toast Those Buns
While your burgers are finishing, find a slightly cooler zone on your griddle (or turn down one of the burners to medium) and toast your buns. Butter the cut sides and place them face-down on the griddle. This takes maybe 60-90 seconds. You want them golden brown and a little crispy, not burnt.
Toasted buns are non-negotiable. They add texture and they hold up way better to all the burger juices and toppings. A soggy bun ruins an otherwise perfect burger.
Assembly
Pull your burgers off the griddle and build your burgers however you like them. I’m a simple guy — bottom bun, burger with melted cheese, pickles, a little onion, ketchup and mustard, top bun. Done.
Pro Tips
Don’t use lean beef. The 80/20 ratio gives you enough fat for flavor and moisture. Lean beef makes dry burgers, and the fat actually helps with the searing process. You want that fat rendering onto the griddle surface.
Work in batches if needed. Don’t overcrowd your griddle. The burgers need space around them for steam to escape. If they’re too close together, they’ll steam instead of sear, and you’ll lose that crispy crust everyone loves.
Have two spatulas ready. When you’re smashing the burger, sometimes it helps to stack one spatula on top of the other for extra pressure. When you’re scraping up that crust to flip, having a second spatula to help guide it makes life easier.
Let the griddle do the work. The single biggest mistake people make is moving the food around too much. Put the burger down, smash it once, and then leave it completely alone until it’s time to flip. All that delicious crust develops when the meat stays in contact with the hot surface.
Use the whole surface. Your Blackstone has different heat zones even when all burners are on high. The center is usually the hottest. Use that knowledge. Cook burgers in the hot zones, toast buns in the slightly cooler areas.
American cheese melts better. I know it’s not fancy, but American cheese is specifically designed to melt smoothly at low temperatures. It creates that classic diner-style burger experience. Save the aged cheddar for a different cook.
Common Mistakes to Avoid
Starting with a cold griddle. The first time most people use a flat top, they get impatient during the preheat. A properly preheated griddle makes all the difference in getting that sear. If your griddle isn’t hot enough, the burgers will stick and steam instead of developing that crust.
Making the patties too thick. These are smash burgers, not regular hamburgers. If you don’t smash them thin enough, you miss the entire point. The thinness creates maximum surface area for that crispy, caramelized crust.
Pressing the burger after the initial smash. People see the burger cooking and think they should press down on it to “speed things up” or “get more sear.” All you’re doing is squeezing out juice. Press once at the beginning, then hands off.
Flipping too early. If you try to flip before that crust develops, the burger will tear and stick. Be patient. Wait for those edges to brown and for the patty to release naturally.
Using frozen beef. The meat needs to be room temperature or at least fully thawed. Frozen or very cold beef won’t smash properly and won’t develop the same crust.
Overseasoning or underseasoning. Beef needs salt and pepper, and it needs more than you think because you’re only seasoning the surface. But don’t go crazy with other spices on your first cook — keep it simple so you can actually taste the beef and learn how your griddle performs.
What You’re Actually Learning
This first cook is teaching you more than just how to make burgers. You’re learning how your specific griddle heats up, where the hot spots are, how quickly the temperature changes when you adjust the knobs, and how food responds to that flat cooking surface.
You’re also getting a feel for the spatula work. Scraping up that crust, flipping confidently, moving food around — these are skills that apply to everything else you’ll cook on this griddle. Smash burgers are a low-stakes way to build that muscle memory.
And you’re adding to the seasoning. Every time you cook something with fat content, you’re building up that polymerized layer that makes the griddle more non-stick over time. This is part of the process, and burgers are a great way to contribute to it.
Frequently Asked Questions
What temperature should the griddle be for smash burgers?
You want your griddle surface between 400-425°F. This is hot enough to develop a serious crust quickly without burning the outside before the inside cooks through. Use an infrared thermometer to check, or test with a few drops of water — they should sizzle and evaporate within a second or two.
Can I make smash burgers on a new unseasoned griddle?
You should season your griddle first before cooking food on it. That initial seasoning creates a protective layer and gives you a base to work with. Once you’ve done that initial seasoning process, smash burgers are a perfect first cook.
How do I know when to flip the burger?
Look at the edges. When they’re brown and crispy, and when the top surface of the patty is starting to change color about halfway up, it’s time to flip. This usually takes 2-3 minutes. The burger should release from the griddle fairly easily when it’s ready.
Why American cheese instead of cheddar or other cheese?
American cheese melts at a lower temperature and creates that smooth, creamy texture. It’s not about being fancy — it’s about what works best with a thin smash burger where you only have about 60-90 seconds to melt the cheese after flipping.
Should I add anything to the ground beef?
No. Just beef, salt, and pepper. Don’t add eggs, breadcrumbs, onions, or anything else. You’re making smash burgers, not meatloaf. The simpler you keep it, the better they turn out. Let the beef and the searing process do all the work.
What if I don’t have two spatulas?
One spatula will work, but two makes life easier. If you only have one, just press down with that for the smash, and use it carefully to scrape under the burger when it’s time to flip. You might want to pick up a second one soon though — they’re cheap and you’ll use them constantly.
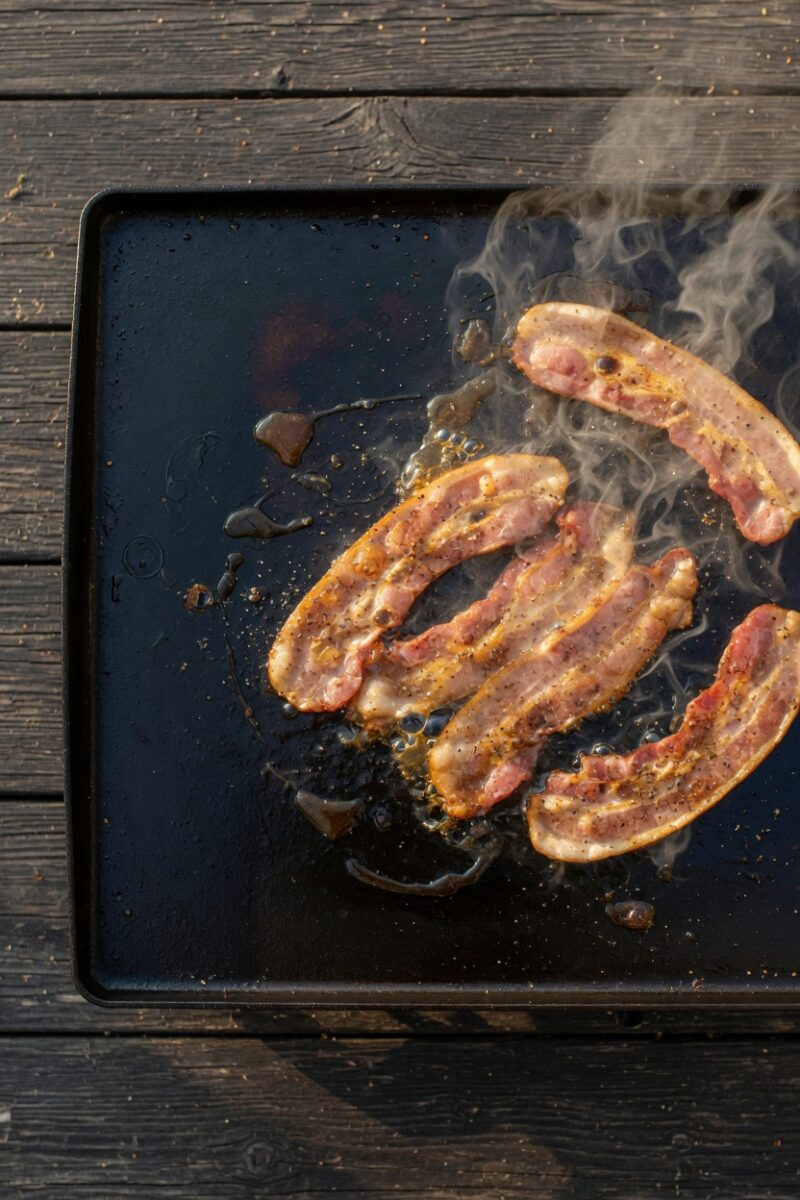
Can I cook the toppings on the griddle too?
Absolutely. You can sauté onions, cook bacon, warm up your tomato slices, whatever you want. That’s the beauty of having all that flat cooking space. Just manage your heat zones so things don’t burn while you’re focusing on the burgers.
Do I need to oil the griddle before every burger?
After your initial oil layer, the fat from the burgers will provide plenty of cooking surface. You might add a tiny bit more oil if things start looking dry, but usually the beef fat is enough. You’ll develop a feel for this as you cook.
How thin is too thin for a smash burger?
About 1/4 inch is the target. Thinner than that and you risk overcooking it before you get a good crust. Thicker than that and you’re losing the textural benefit of a proper smash burger. Don’t stress about precision — close enough is fine.
After Your First Cook
Once you’ve made these burgers, you’re going to understand why people get so excited about cooking on a Blackstone. That crust, the even cooking, how easy it is to manage multiple burgers at once — it all clicks.
After you eat, let the griddle cool down for a few minutes but not completely. While it’s still warm, scrape off any stuck-on bits with your Blackstone scraper, wipe it down with a paper towel, and add a very thin layer of oil. This post-cook maintenance takes about two minutes and keeps your griddle in great shape.
Now you’ve got the basics down, and you’re ready to try other things. Breakfast, stir-fry, fajitas, whatever sounds good. But I’m telling you, starting with smash burgers is the way to go. They work, they’re delicious, and they give you confidence to keep cooking.
The hardest part about your first Blackstone cook is choosing what to make. Now you know. Fire it up, smash some burgers, and welcome to the club.