How to Store a Blackstone Griddle: Complete Guide
Look, I’m still pretty new to the Blackstone world—got mine this April—but the first time I finished cooking and stood there looking at this giant 36-inch griddle covered in oil and food bits, I had a real moment of “uh, so what do I do with this thing now?” Storing a Blackstone properly isn’t just about shoving a cover on it and calling it a day. There’s actually a right way to do this that’ll keep your griddle in great shape and ready to fire up whenever you want. Let me walk you through exactly what I’ve learned about storing this beast.
Why Proper Storage Actually Matters
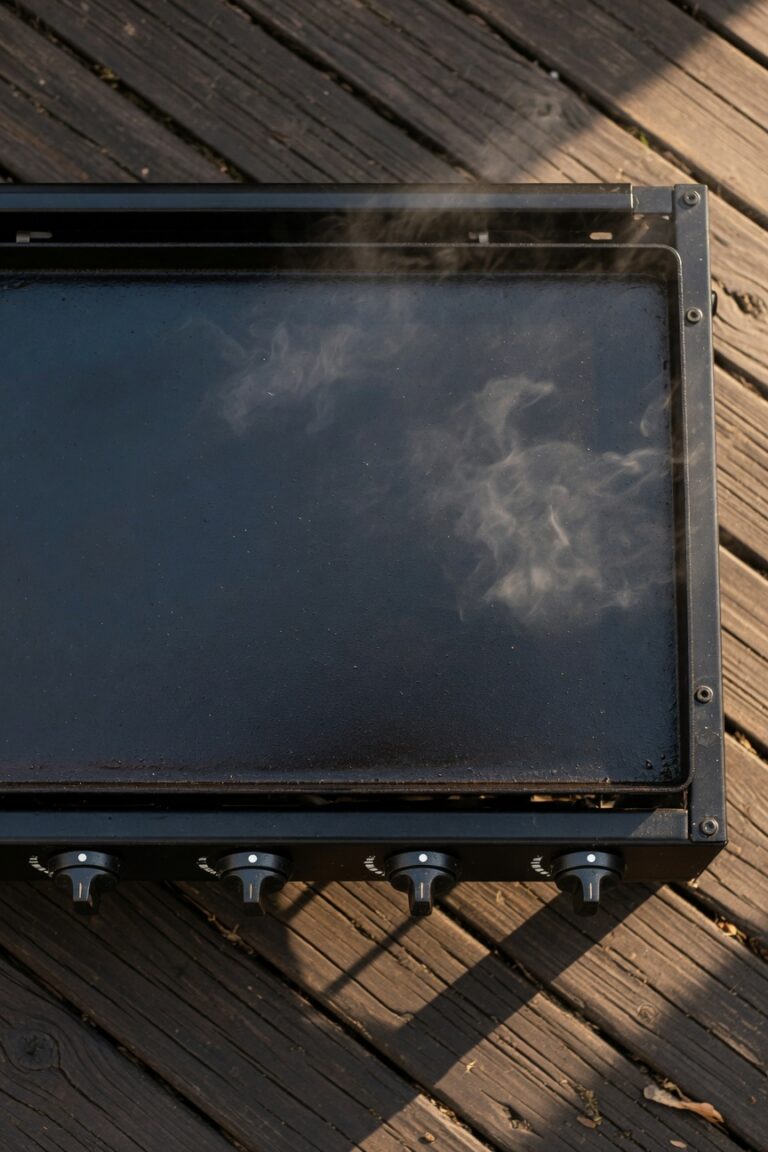
Here’s the thing about flat top griddles—they’re essentially giant slabs of steel sitting outside in whatever weather you’ve got going on. That steel wants to rust. It’s just chemistry. The seasoning layer you build up is your main defense, but proper storage is what keeps everything protected between cooking sessions.
I keep my griddle in the backyard here in East Hampton, and Connecticut weather is no joke. We get humidity in summer, cold in winter, rain whenever it feels like it. Your griddle needs protection from all of it—moisture, temperature swings, debris, critters, all of it.
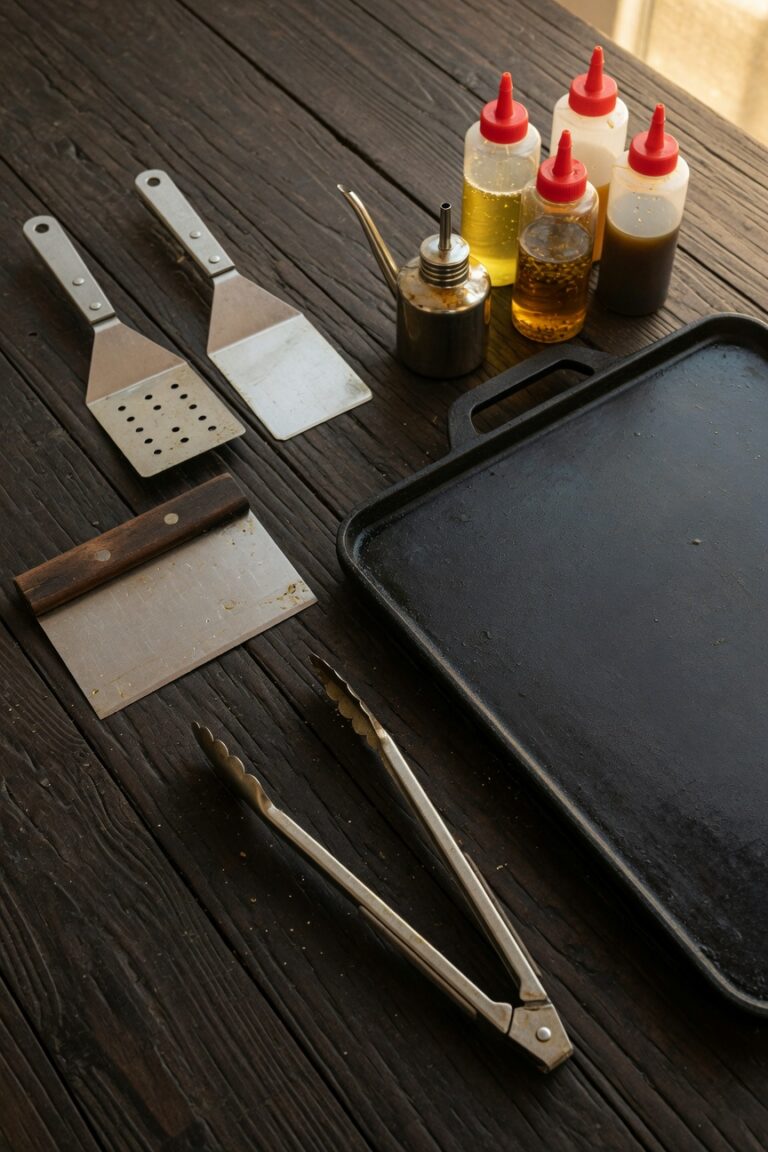
What You’ll Need for Proper Storage
- Paper towels or clean cloth rags
- Cooking oil (I use avocado oil; vegetable or canola also work)
- Griddle scraper
- Quality griddle cover (get one that actually fits your model)
- Bungee cords or cover straps (optional but helpful on windy days)
- Grill brush or scrubbing pad
Step-by-Step: How to Store Your Blackstone Griddle
Step 1: Let It Cool Down Completely
This seems obvious, but don’t rush it. After you finish cooking, turn off the burners and let that griddle cool to room temperature. I’m talking completely cool—not warm, not “probably fine,” but actually cool to the touch. This usually takes about 30-45 minutes depending on how hot you had it running.
Don’t try to speed this up with water or anything else. Just let physics do its thing. Bronco and Gunner usually hang around during this cooling period hoping for dropped food, so at least someone’s keeping me company.
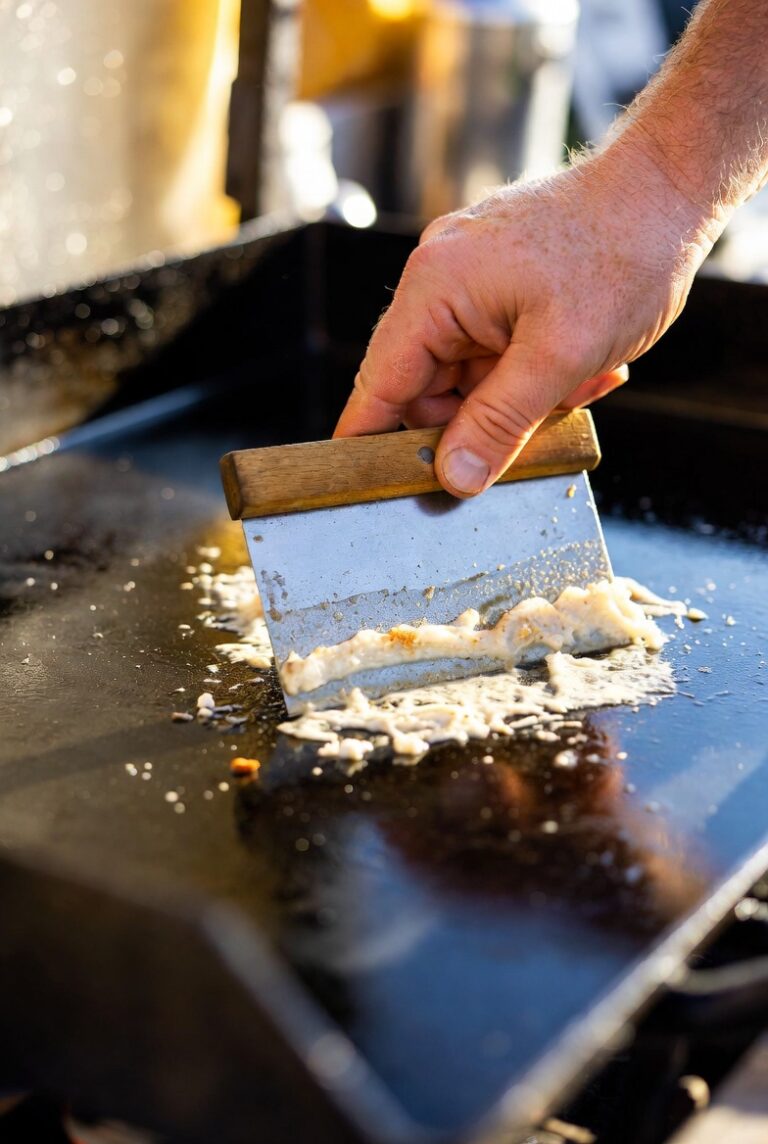
Step 2: Clean the Surface Properly
While the griddle is still slightly warm (not hot, just barely warm), do your post-cook cleaning. Scrape off any food debris with your griddle scraper. Get everything off—stuck bits, grease puddles, all of it.
If you’ve got stubborn stuck-on food, you can add a little water to the warm surface to help steam it off. Use your scraper to push all the debris and water toward the grease trap. Some people do a more thorough scrub with a grill brush or scrubbing pad at this point. Just make sure you’re not stripping off your seasoning layer.
Dump out your grease trap and wipe it clean. This is not optional. Old grease sitting in there is asking for problems—smell, pests, and general nastiness. I keep grease trap liners on hand because they make this whole process way less messy and you can just toss them when you’re done.
Step 3: Dry Everything Thoroughly
This is critical. Use paper towels or clean rags to dry the entire cooking surface. Get it completely dry. Any water left on the surface can cause rust, especially if you’re storing it for more than a day or two.
Don’t forget the edges, the sides, around the grease trap—anywhere water might be hiding. I learned pretty quick that “mostly dry” isn’t the same as “actually dry.”
Step 4: Apply Your Protective Oil Layer
Once everything is bone dry, apply a thin layer of cooking oil across the entire surface. I use avocado oil for this because of its high smoke point, though plenty of people use vegetable or canola oil too.
The key word here is thin. You’re not deep frying, you’re just creating a protective barrier. Pour a small amount in the center, then use a paper towel to spread it evenly across the whole surface. You want complete coverage but not puddles.
Make sure you get the edges and sides too. Any exposed steel is vulnerable.
Step 5: Oil the Exterior Metal Parts
Don’t forget about the rest of the griddle. The frame, the side shelves, any metal parts that are exposed—give them a light wipe with an oiled cloth too. You don’t need to go crazy, but a little protection goes a long way, especially if you’re storing it outside.
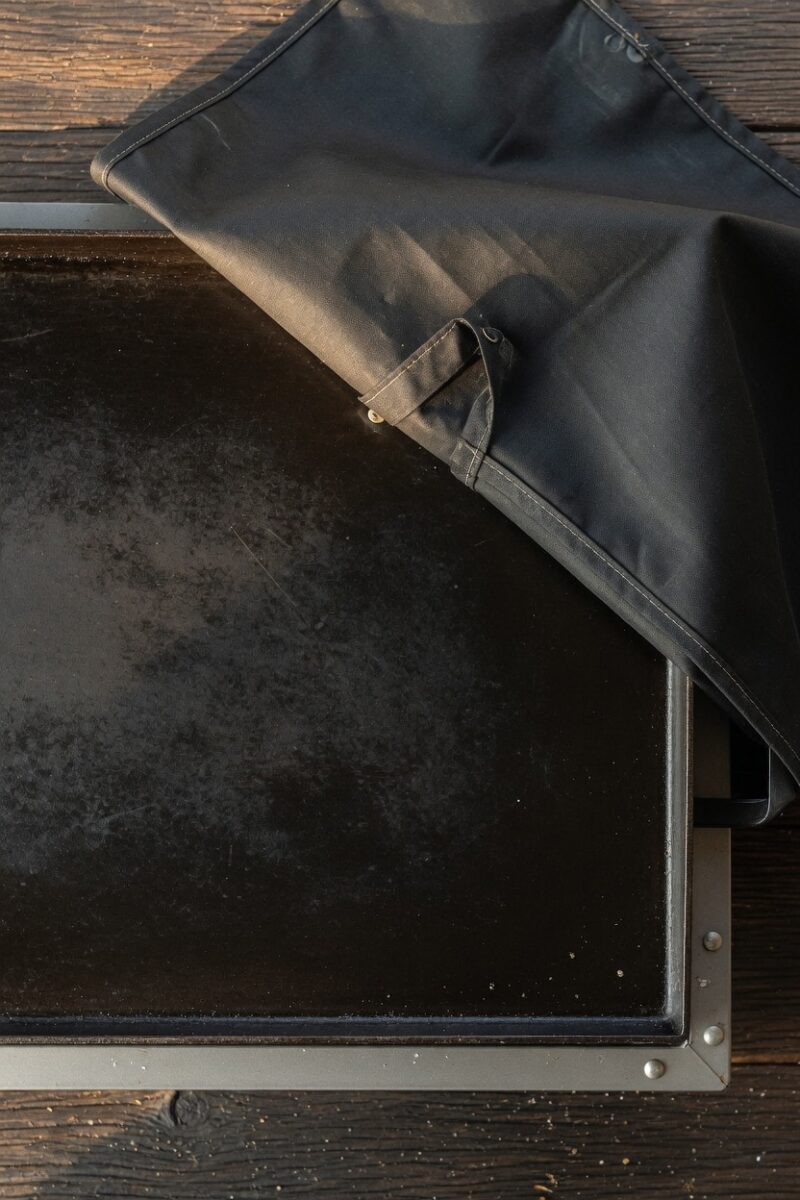
Step 6: Cover It Properly
Get a good cover that actually fits your model. The cheap universal covers don’t cut it. You want something that’s designed for your specific griddle size with proper ventilation and water resistance. I use a weather resistant cover that’s built specifically for Blackstone griddles, and it’s held up great through everything Connecticut weather has thrown at it.
Make sure the griddle is completely cool before covering. Trapping heat and moisture under a cover is a recipe for condensation and rust.
Put the cover on snugly. If it’s windy where you live, use bungee cords or the straps that come with better covers to keep it secure. There’s nothing worse than finding your cover in the neighbor’s yard after a storm.
Step 7: Position Matters
If you can, store your griddle in a spot that has some natural protection. Under a deck overhang, near a wall that blocks wind, anywhere that reduces direct exposure to the elements.
Keep it level. This prevents water from pooling in one area if any gets under the cover. My 36-inch stays on the patio year-round, and I made sure it’s on level ground.
Short-Term vs. Long-Term Storage
Daily Storage (Using It Regularly)
If you’re cooking on your Blackstone every few days or weekly, your storage routine can be pretty straightforward. Follow the basic cleaning and oiling steps above, cover it, and you’re done.
The seasoning layer stays active when you use it regularly, and the protective oil layer between uses is usually enough to prevent any issues.
Long-Term Storage (Weeks or Months)
If you’re putting the griddle away for an extended period—like storing it for winter or if you’re traveling—you need to be more thorough.
Apply a heavier coat of oil for long-term storage. Not dripping, but definitely more generous than your daily protective layer. Some people apply multiple thin coats, letting each one sit for a few minutes before adding the next.
Check on it periodically if possible. Once a month, uncover it, check for any rust spots or issues, and reapply oil if needed.
If you’re storing it in a garage or shed, make sure the space has decent ventilation. Trapped humidity is your enemy.
Winter Storage Considerations
I haven’t been through a full winter with mine yet since I just got it in April, but I’ve been reading up on this. You can absolutely leave a Blackstone outside through winter if you prep it right.
The main concern is moisture from snow and ice melt seeping under the cover. Make sure your cover is in good shape with no tears. Consider adding extra protection—some people put a tarp over the cover for winter, though you need to be careful about condensation.
If you have room to bring it into a garage or shed for winter, that’s ideal. Just make sure you’ve cleaned and oiled it thoroughly first.
Indoor Storage Options
If you’re lucky enough to have garage or shed space, indoor storage solves a lot of problems. The griddle is protected from direct weather exposure, temperature swings are less extreme, and moisture is easier to control.
Still follow all the cleaning and oiling steps before bringing it inside. You don’t want old grease or food residue sitting on there for months.
Don’t store it somewhere damp like a basement prone to humidity. You’re trading outdoor weather problems for indoor moisture problems at that point.
Pro Tips for Blackstone Storage
Invest in a quality cover from the start. The cheap ones fall apart fast and don’t protect properly. Get the right size for your model—my 36-inch needs a 36-inch cover, not some universal thing that sort of fits.
Keep extra paper towels near the griddle. Makes the post-cook cleaning and oiling routine way easier when everything you need is right there.
Set a reminder if storing long-term. Seriously, put it in your phone. Check the griddle once a month during extended storage periods.
Don’t skip the grease trap. Cleaning it every single time seems like a pain, but it takes two minutes and prevents so many potential problems.
Consider where you position it initially. Choosing a good spot from the beginning makes storage easier every time. Think about sun exposure, wind patterns, and proximity to where you’d naturally walk by and notice any issues.
Keep your cover clean too. Shake it out regularly, let it dry if it gets wet before putting it back on. A moldy cover doesn’t protect anything.
Common Storage Mistakes to Avoid
Covering while still hot: This traps heat and creates condensation when it cools. Always let it cool completely first.
Skipping the oil layer: That protective coating is essential. Don’t just clean and cover—you need that oil barrier.
Using too much oil: Thick puddles of oil don’t help. They just sit there getting sticky and gross. Thin and even is the goal.
Forgetting about the grease trap: Old grease is nasty and attracts pests. Empty it every time.
Using damaged covers: A cover with tears or holes is basically useless. Replace it when it starts showing wear.
Storing dirty: Don’t leave food debris on there thinking you’ll clean it next time. Next time you’ll have rust and possibly wildlife who decided to help themselves.
Ignoring rust spots: If you spot rust forming, deal with it immediately. It spreads fast on exposed steel.
Storing in direct contact with the ground: Your griddle should be on its legs or on a cart, not sitting directly on concrete or dirt. Air circulation underneath is important.
What About Smaller Models?
I’ve been eyeing the 22-inch tabletop Blackstone for tailgating and camping situations. The storage for those smaller models is actually easier in some ways—you can bring them inside more easily, they fit in garages or sheds without taking up half the space, and some people even store them in large containers or bins.
The same principles apply though. Clean, dry, oil, cover. Just because it’s smaller doesn’t mean it’s immune to rust or damage from improper storage.
Frequently Asked Questions
Can I leave my Blackstone outside year-round?
Yes, Blackstone griddles are designed to be stored outdoors. Just make sure you follow proper storage procedures—clean it, oil it, and use a quality cover. Regular maintenance is more important for outdoor storage than indoor.
How often should I re-oil during storage?
If you’re using it regularly (every few days or weekly), the oil layer you apply after each cook is sufficient. For long-term storage, check monthly and reapply oil as needed.
What’s the best oil for storage?
I use avocado oil for its high smoke point, but vegetable oil and canola oil work well too. The key is applying a thin, even coat. Some people prefer flaxseed oil for long-term storage because it creates a harder coating, but it’s not necessary for most situations.
Do I need to season the griddle again after long-term storage?
Usually not. If you stored it properly with a good oil coating, your seasoning should be fine. You might want to do a quick re-seasoning layer before your first cook of the season just to refresh it, but a full re-season from scratch shouldn’t be necessary.
My cover gets wet inside from condensation. Is that normal?
Some condensation can happen, especially with temperature changes. This is why you want a cover with ventilation built in. If it’s excessive, you might need a better cover or need to adjust where the griddle is positioned. Always make sure the griddle is completely cool before covering to minimize this.
Can I use a regular grill cover?
You can, but griddle-specific covers fit better and usually have features designed for flat tops. Generic grill covers often don’t fit right and can blow off or let water in. Get the right cover for your model.
What if I see rust when I uncover it?
Don’t panic. Minor surface rust is fixable. Scrape it off, scrub the area, re-season that spot, and figure out why it happened—usually it’s moisture getting under the cover or not enough oil protection. Fix the storage issue so it doesn’t keep happening.
Should I disconnect the propane tank for storage?
For daily storage, you can leave it connected if you want. For long-term storage or if you’re moving the griddle, disconnect it and store the tank properly according to propane safety guidelines.
How do I store the accessories?
Keep spatulas, scrapers, and other tools clean and dry. I keep mine in a container near the griddle so they’re always ready to go. If they’re getting exposed to weather, a little oil on metal parts helps prevent rust on them too.
Final Thoughts on Griddle Storage
Storing a Blackstone properly isn’t complicated, but it does require a few minutes of effort after every cook. The payoff is a griddle that’s always ready to go, with seasoning intact and no rust issues to deal with.
The routine becomes automatic pretty quickly. Cook, clean while it’s warm, let it cool, oil it, cover it. Takes maybe ten minutes total, and it’s just part of the process now.
I’m still learning new things about griddle ownership since I just started this in April, but storage is one area where a little consistency goes a long way. Treat your Blackstone right between cooks, and it’ll be ready whenever you are.
Whether you’re storing it day-to-day in the backyard or putting it away for an extended period, these steps will keep your griddle in good shape. And honestly, knowing it’s properly stored and protected makes it that much easier to just fire it up whenever the mood strikes—which around here with Sierra requesting another round of smash burgers and the dogs going nuts at the sound of the ignition, happens pretty regularly.