Best Burger Press for Blackstone Griddles (2026 Guide)
If you’re cooking smash burgers on your Blackstone, you need a burger press. Not want. Need. I learned this pretty quickly after getting my griddle in April — sure, you can use a spatula to smash down patties, but a proper burger press gives you that perfect crust, even thickness, and honestly just makes the whole process way easier. But here’s the thing: not all burger presses work the same on a flat top. Some are too light, some don’t get enough surface contact, and some are just annoying to use when you’re trying to flip multiple burgers at once.
Blackstone Smash Burgers
Ingredients
Method
- Divide ground beef into 2 to 3 ounce balls, roughly the size of a golf ball. Don't pack them tight, just loosely form them. Season the outside of each ball lightly with salt and pepper.
- Preheat your Blackstone griddle to 400 to 425 degrees for at least 10 minutes until very hot.
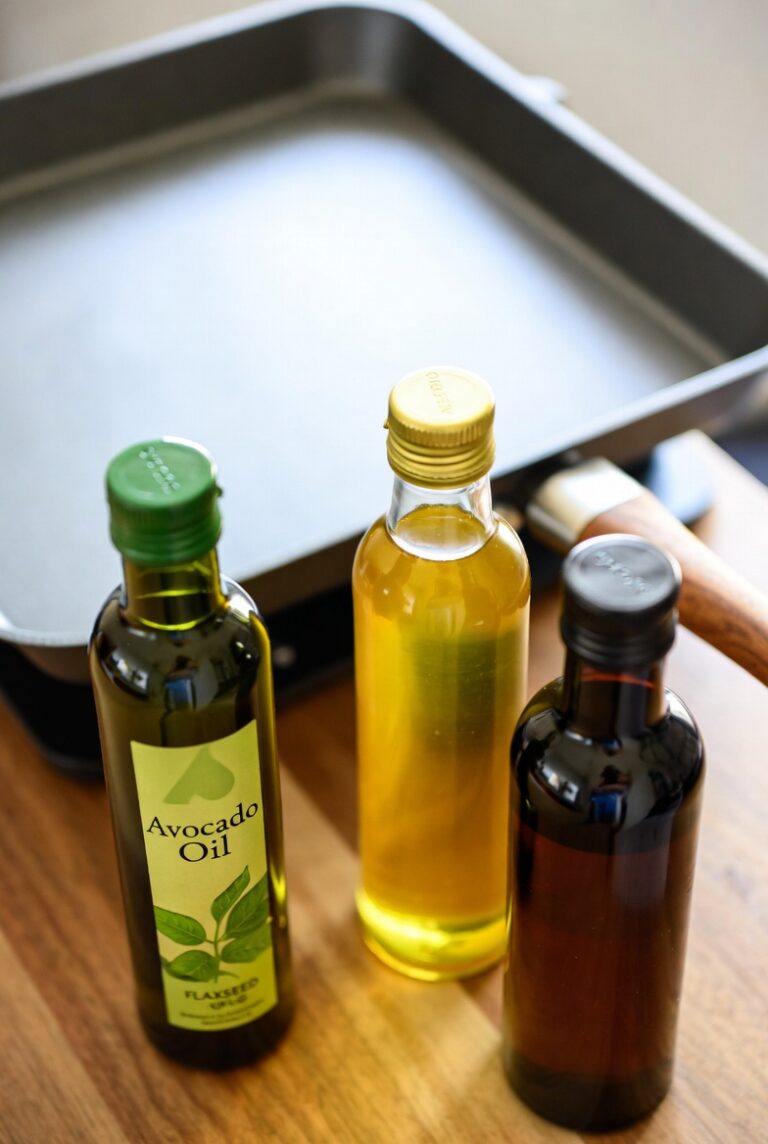
- Add a small amount of oil to the griddle surface to create a thin layer where burgers will go.
- Place beef balls directly on the hot oiled surface, giving them a couple inches of space between each one.
- Immediately press down firmly with burger press to smash patties to about 0.25 inch thick. Apply solid pressure for 3 to 5 seconds, then lift straight up. Do not twist or wiggle the press.
- Let burgers cook undisturbed for 2 to 3 minutes until edges are deep brown and crispy and the top surface looks cooked about halfway up.
- Flip burgers with a large sturdy spatula. Immediately add a slice of cheese to each patty.
- Cook second side for 60 to 90 seconds to warm through and melt cheese.
- While burgers finish, butter the buns and place face-down on griddle. Toast for about 30 seconds until golden.
- Remove everything from griddle. Assemble burgers with bottom bun, patty with cheese, toppings, condiments, and top bun. Serve immediately.
Notes
- Use 80/20 ground beef for best flavor and crust - leaner beef will be dry
- Keep beef cold until it hits the griddle for better smashing and texture
- Only smash once right after beef hits griddle - never press again or you'll squeeze out juices
- Griddle must be 400-425°F for proper searing and crust development
- Each patty should be 2-3 ounces for optimal smash burger results
- For bigger burgers, make two thin patties and stack them instead of one thick patty
- Can use parchment paper between press and meat to prevent sticking and keep press cleaner
- Don't mix salt into ground beef before forming - season the outside of balls only
I’ve done the research and tested a few different options over the past few weeks, and I’m going to walk you through what actually matters when choosing a burger press for your Blackstone, which ones are worth buying, and how to use them to make restaurant-quality smash burgers at home.
Why You Need a Burger Press for Your Blackstone
Look, I thought I could get by without one at first. I’d seen people use spatulas to smash burgers, and honestly it seemed like just another gadget taking up space. But after making smash burgers the right way with a proper press, I get it now. The difference is huge.
A good burger press does three things a spatula can’t: it distributes pressure evenly across the entire patty, it gives you consistent thickness every time, and it has enough weight and leverage to really smash that meat into the griddle surface for maximum crust. That crust is everything. That’s where all the flavor is. And you only get it with proper contact between the meat and that screaming hot flat top.
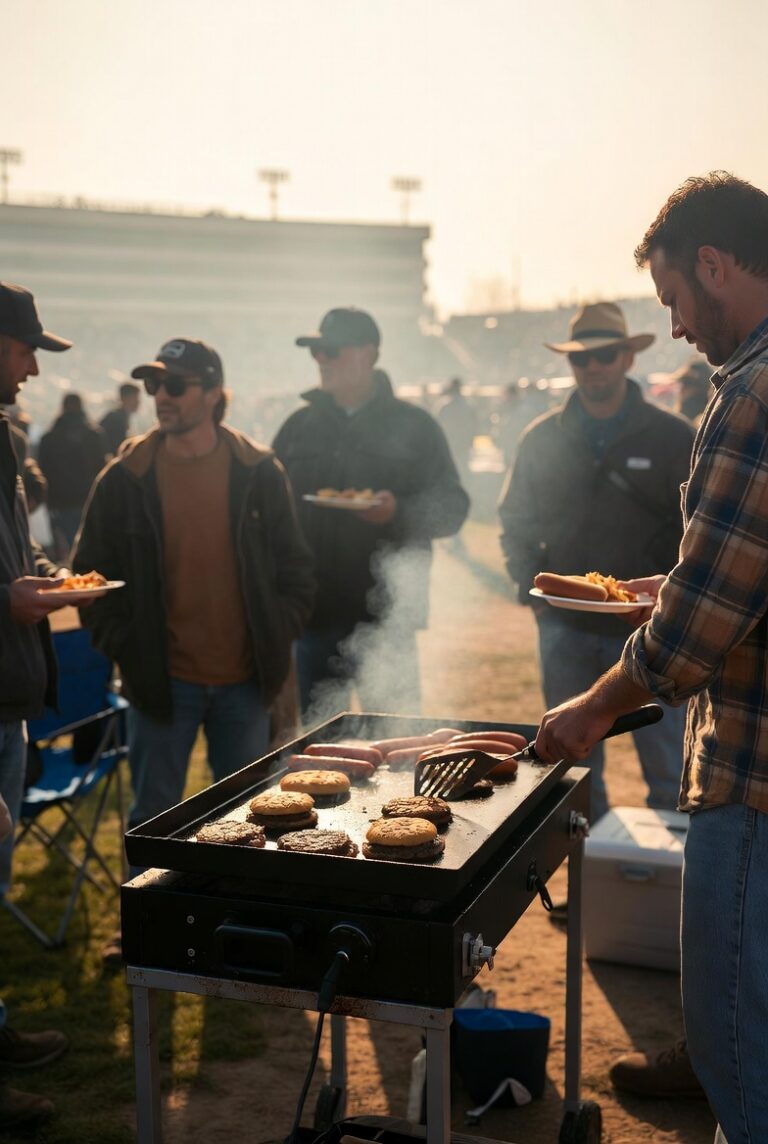
The other benefit nobody talks about? Speed. When you’re cooking for a group, being able to press multiple burgers quickly without repositioning your hands or adjusting pressure makes a real difference. You get into a rhythm, and burgers just flow.
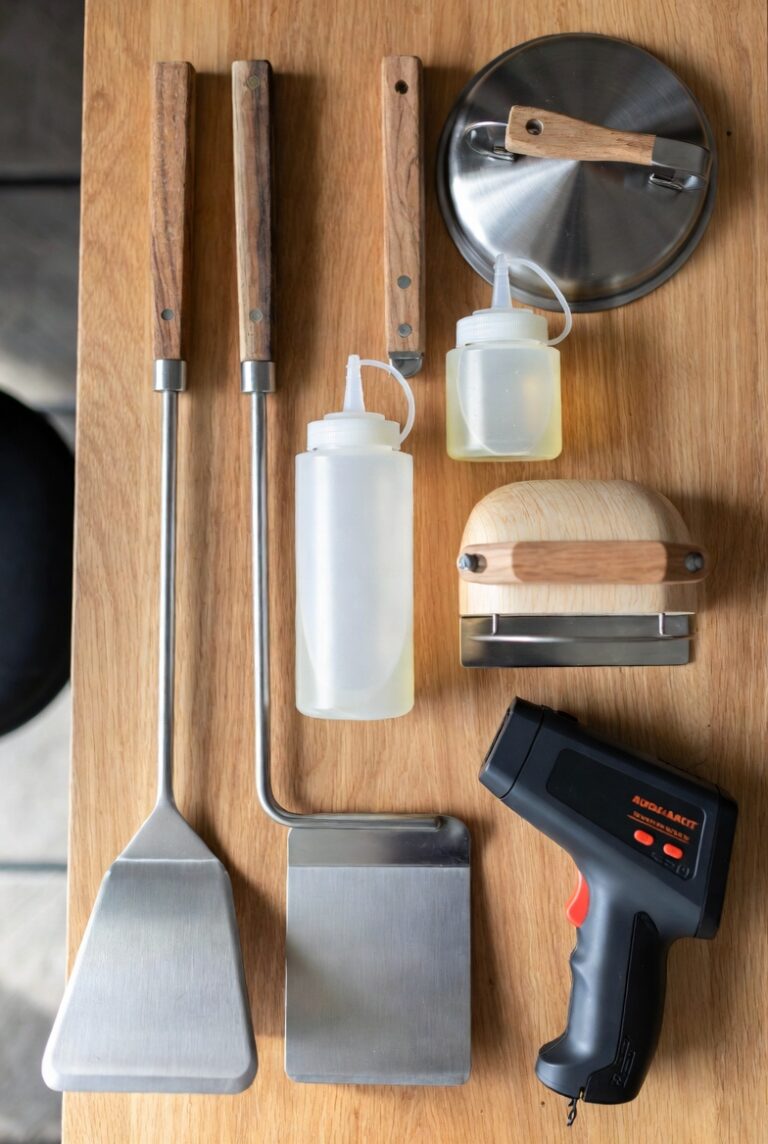
What Makes a Good Blackstone Burger Press
Not every burger press is designed for flat top cooking. Some are made for grills where you’re just shaping patties before they go on. Those don’t work here. Here’s what you actually need:
Weight and Heft
You want something heavy enough to do the work without you having to lean your entire body weight into it. Cast iron is ideal. Stainless steel can work if it’s thick enough. Those lightweight plastic-handled presses you see at the grocery store? Forget it. They’re basically useless on a Blackstone.
Heat Resistance
Your press is going on a 400-degree griddle surface. If it has a plastic handle or coating, you’re going to have a bad time. Wood handles are okay if they’re detachable or long enough to stay cool. Metal handles get hot but you can use a towel. Just know what you’re getting into.
Surface Area and Shape
The pressing surface needs to be large enough to cover a burger patty completely but not so big that it’s awkward to handle. Most good presses are around 4 to 5 inches across. Round is traditional, but square presses exist too and they’re actually great if you’re using square buns or making sliders.
Easy to Clean
Grease and meat bits stick to everything. A smooth pressing surface without a bunch of grooves or logos stamped into it is way easier to clean. Simple is better here.
The Best Burger Presses for Blackstone in 2026
Blackstone Burger Press (The Official Option)
Of course Blackstone makes their own press, and honestly it’s pretty solid. It’s cast iron, has a wood handle that stays relatively cool, and it’s sized perfectly for standard burger patties. The pressing surface is smooth and it’s got enough weight to get a good smash without killing your wrist.
The handle is comfortable and positioned at an angle that gives you good leverage. It’s not the cheapest option out there, but it’s well-made and it works exactly like you’d want it to. If you’re already buying Blackstone accessories, this one makes sense.
Cast Iron Grill Press with Wood Handle
These are the classic rectangular presses you see in diners, usually about 4×8 inches. They’re not specifically made for burgers, but they work great. The bigger surface area means you can press two sliders at once or get really even pressure on larger patties.
The weight is perfect — usually around 3 pounds — and the long wood handle gives you good control. The rectangular shape feels a little weird at first if you’re used to round, but you get over it fast. These are usually pretty affordable too, often under 20 bucks.
Cuisinart Smashed Burger Press
Cuisinart makes a cast iron smash burger press specifically designed for smash burgers. It’s got a wood handle, weighs about 2 pounds, and has a slightly domed pressing surface that’s supposed to help fat render out toward the edges. I’m not totally sure that makes a real difference, but it doesn’t hurt.
It’s a little lighter than some other options, which means you need to apply a bit more pressure yourself, but some people prefer that because it gives you more control. Good middle-ground option.
Pit Boss Cast Iron Bacon and Burger Press
This one is interesting because it has a removable handle. The press itself is round cast iron, and you can take the wood handle off for storage or cleaning. Nice if you’re tight on space. It’s heavy enough to work well and the pressing surface is completely smooth.
Only downside is the handle attachment can get a little loose over time, but we’re talking months of heavy use. For someone who just started in April like me, it’s been totally fine.
Budget Option: Lodge Cast Iron Grill Press
Lodge makes cookware that lasts forever, and their basic grill press is no exception. It’s rectangular, cast iron, has a simple coil handle that gets hot so you’ll need a towel, and costs about 15 bucks. No frills, just function.
The coil handle isn’t as comfortable as wood, and you definitely need a heat-resistant glove or towel, but it works just as well as presses that cost three times as much. If you’re just getting started and don’t want to drop a bunch of money on accessories, this is the move.
How to Use a Burger Press on Your Blackstone
Using a burger press is straightforward, but there are some techniques that make a real difference in how your burgers turn out.
Ingredients for Perfect Smash Burgers
- 80/20 ground beef (the fat content matters for crust and flavor)
- Burger buns (I like potato buns but use what you like)
- American cheese slices
- Salt and pepper (that’s it for seasoning)
- Butter for toasting buns
- Your choice of toppings: lettuce, tomato, onion, pickles, whatever
- Condiments: mayo, ketchup, mustard, special sauce
Step-by-Step Instructions
Step 1: Prep Your Beef Balls
Divide your ground beef into balls. For smash burgers, you want about 2 to 3 ounces each — roughly the size of a golf ball. Don’t pack them tight, just loosely form them into balls. If you compress the meat too much before it hits the griddle, you won’t get as good of a smash.
Season the outside of each ball lightly with salt and pepper. Some people wait to season until after the smash, but I find it easier to do it before.
Step 2: Preheat Your Blackstone
This is critical. Your griddle needs to be HOT. I’m talking 400 to 425 degrees. Let it preheat for at least 10 minutes. A properly heated griddle is the difference between a burger with an incredible crust and one that just steams and turns gray.
You want that surface so hot that when the beef hits it, you hear an immediate sizzle. If you don’t hear that sound, your griddle isn’t hot enough yet.
Step 3: Oil the Griddle
Add a small amount of oil to your griddle surface — just enough to create a thin layer where your burgers will go. You don’t need much because the beef will release its own fat, but a little oil helps with the initial contact and prevents sticking.
Step 4: Place Beef Balls on the Griddle
Put your beef balls directly on the hot oiled surface. Give them a couple inches of space between each one because they’re going to spread when you smash them.
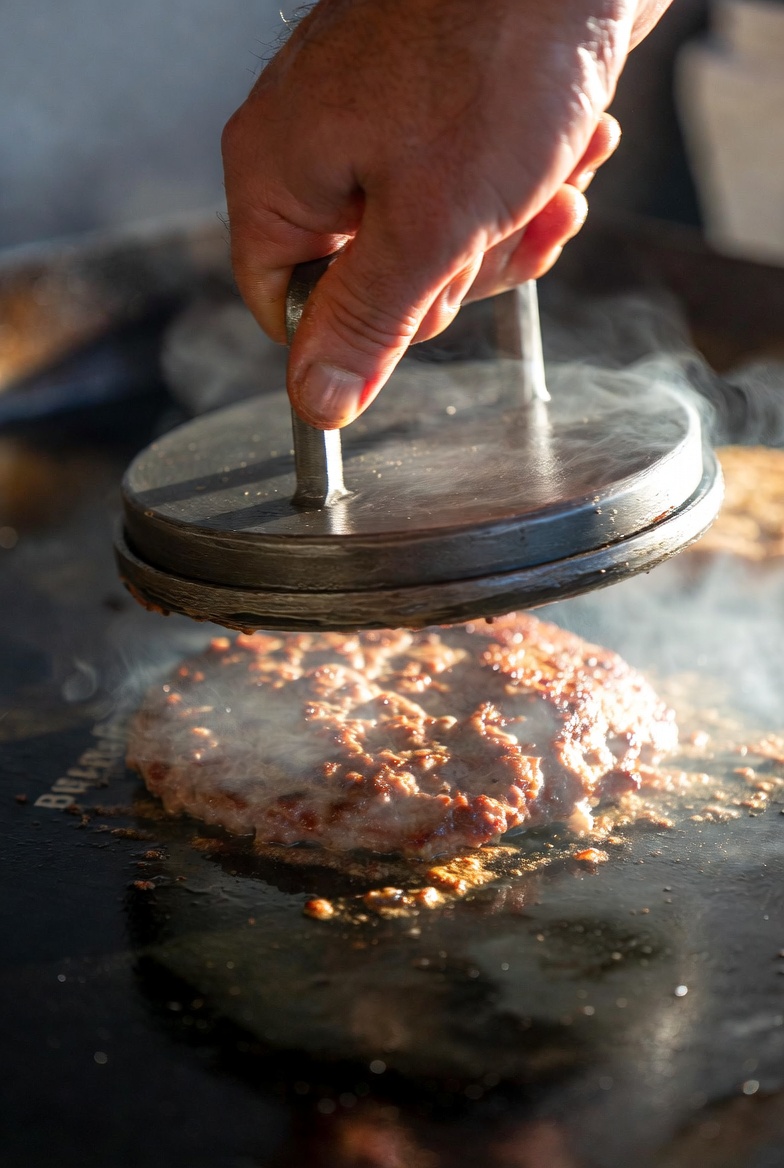
Step 5: Smash Immediately
This is where the press comes in. As soon as the beef hits the griddle — and I mean within a second or two — press down firmly with your burger press. You want to smash that patty to about 1/4 inch thick. Press straight down, apply solid pressure for about 3 to 5 seconds, then lift straight up.
Don’t twist the press or wiggle it around. Just press down and lift up. The goal is maximum surface contact with the griddle for maximum crust.
Step 6: Don’t Touch Them
Here’s the hardest part: leave them alone. Don’t press them again. Don’t move them around. Don’t peek underneath them. Just let them cook. The crust needs time to develop, and if you mess with them, you’ll tear that crust and lose all the good stuff.
Let them cook for about 2 to 3 minutes. You’ll see the edges start to brown and crisp up. When the edges look deep brown and the top surface of the meat is starting to look cooked about halfway up, they’re ready to flip.
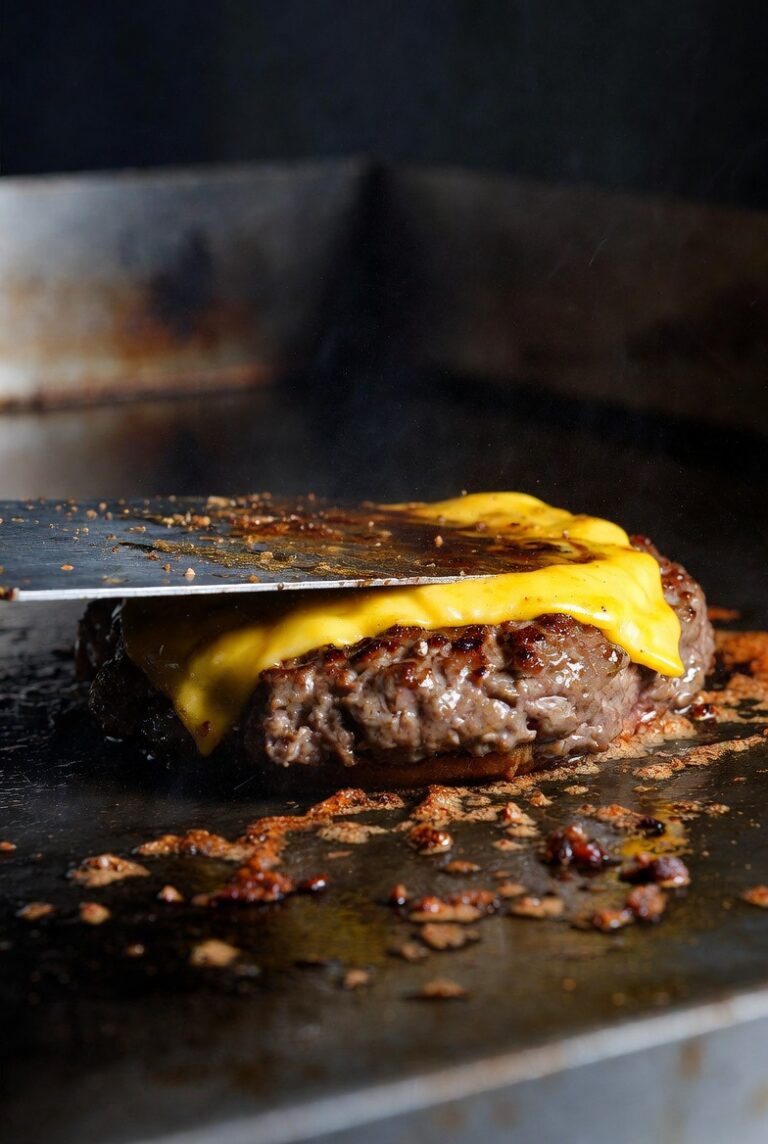
Step 7: Flip and Add Cheese
Use a large sturdy spatula to flip the burgers. They should release easily if your griddle was hot enough and you let them cook long enough. If they’re sticking, give them another 30 seconds.
Immediately after flipping, add a slice of cheese to each patty. The second side only needs about 60 to 90 seconds to cook. You’re basically just warming the top side and melting the cheese.
Step 8: Toast Your Buns
While the burgers finish, butter your buns and put them face-down on the griddle. They only need about 30 seconds to get golden and toasted. Keep an eye on them because they go from perfect to burnt fast.
Step 9: Assemble and Serve
Pull everything off the griddle. Put your burger on the bottom bun, add your toppings and condiments, top bun, done. Eat immediately while it’s hot.
Pro Tips for Better Smash Burgers
Don’t use lean beef. I know 80/20 sounds like a lot of fat, but you need it. The fat renders out during the smash and creates flavor. If you use 90/10 or leaner, your burgers will be dry and won’t develop as good of a crust.
Keep your beef cold until it hits the griddle. Don’t let those balls sit out at room temperature. Cold beef smashes better and holds together better during the press.
Only smash once. I can’t stress this enough. You press once, right after the beef hits the griddle, and never again. Every time you press after that, you’re squeezing out juice and fat. One and done.
Use parchment paper between the press and the meat if you’re worried about sticking. Some people do this, especially when they’re first learning. Just put a small square of parchment on top of the beef ball before you press. It doesn’t affect the crust and it keeps your press cleaner.
Make doubles. Two thin smashed patties with cheese between them is better than one thick patty. More crust, more flavor, better meat-to-cheese ratio. If you want a bigger burger, make two smash patties and stack them.
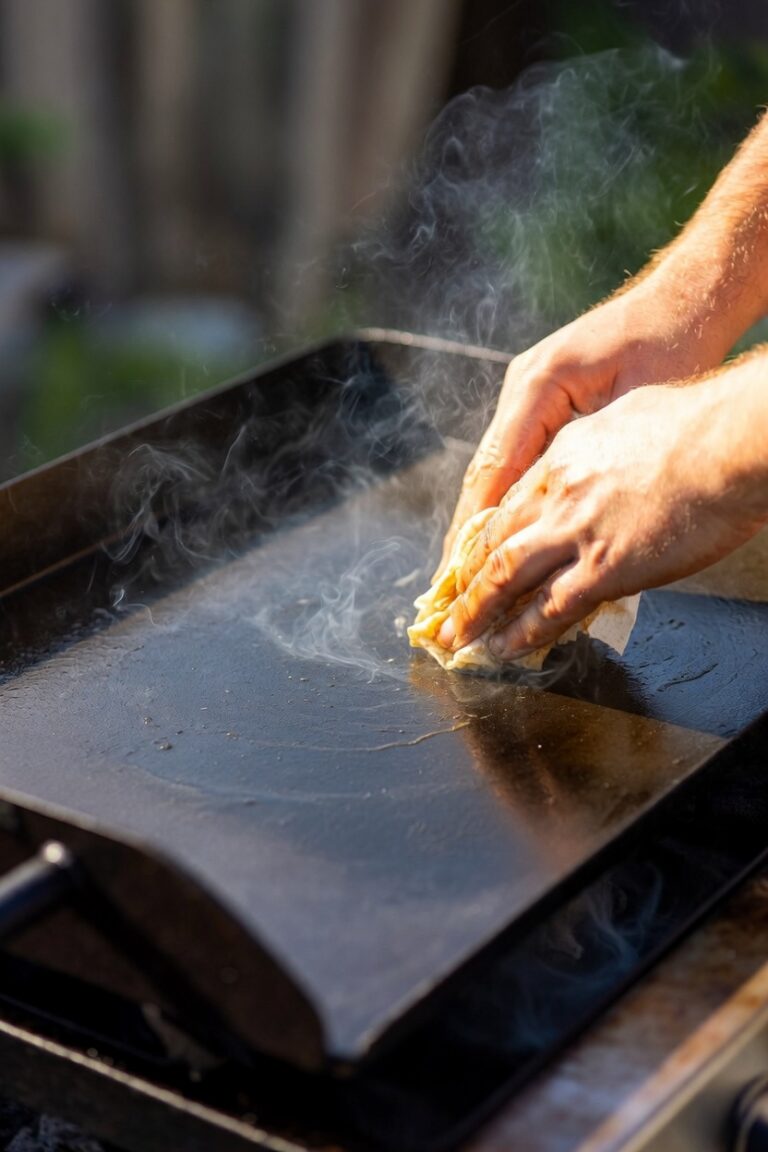
Clean your press between batches. Bits of meat will stick to it, and if you don’t scrape them off, they’ll burn and taste bitter. Just scrape it with a spatula and wipe it down between rounds of burgers.
Common Mistakes to Avoid
The first mistake most people make is not getting the griddle hot enough. I get it — it feels wasteful to let it preheat for so long. But that temperature is everything. If your griddle isn’t properly heated, the beef will stick, the crust won’t form right, and you’ll end up steaming the meat instead of searing it.
Another common issue is using too much meat per patty. Bigger isn’t always better with smash burgers. A 2 to 3 ounce portion smashes to the perfect size and cooks evenly. If you start with 5 or 6 ounces, it’s hard to smash thin enough and the middle stays undercooked while the edges burn.
Pressing the burger after the initial smash is probably the most frequent mistake. People think they’re helping, but you’re actually just squeezing out all the juice. Press once at the beginning, then hands off.
Using a press that’s too light is frustrating. If your press doesn’t have enough weight, you’re doing all the work with your arm and shoulder, and it’s hard to get consistent results. Invest in something with actual heft.
Don’t season your beef too early. If you mix salt into the ground beef before forming it, the salt breaks down the protein and makes the texture weird and sausage-like. Season the outside of the balls or season after the smash, not before forming.
Frequently Asked Questions
Do I really need a burger press or can I just use a spatula?
You can use a spatula, but a press is way better. A spatula requires you to apply pressure at an angle, which means uneven contact with the griddle. A press distributes weight evenly and gives you consistent thickness across the entire patty. If you’re serious about smash burgers, get a press.
What’s the best material for a burger press?
Cast iron is ideal because it’s heavy, durable, and heat-resistant. Stainless steel can work if it’s thick enough. Avoid anything with plastic parts that will melt on a hot griddle.
How heavy should a burger press be?
Around 2 to 3 pounds is the sweet spot. Heavy enough to do most of the work for you, but not so heavy that it’s awkward to handle. Anything under a pound is probably too light.
Can I use a burger press for other things on my Blackstone?
Absolutely. Burger presses work great for bacon, sausage patties, grilled cheese, paninis, or anything else you want to press flat and get good contact with the griddle surface. They’re more versatile than you’d think.
Should I oil the burger press?
You can, but you don’t have to. Some people give it a light coating of oil to prevent sticking, especially if they’re not using parchment paper. I usually don’t bother because I scrape it clean between batches anyway.
How do I clean my cast iron burger press?
Let it cool down first — don’t put a hot cast iron press under cold water or you could crack it. Once it’s cool, scrape off any stuck bits with a stiff brush or scraper, wash with hot water and a little soap if needed, dry thoroughly, and rub it with a tiny bit of oil to prevent rust. Same basic process as any cast iron.
Can I make sliders with a regular burger press?
Yes, just use less meat — about 1 to 1.5 ounces per slider ball. The same technique applies, just smaller portions. Some companies make slider-specific presses that are smaller, but a regular press works fine.
What temperature should my Blackstone be for smash burgers?
Between 400 and 425 degrees is ideal. Hot enough for a serious sear and crust, but not so hot that the outside burns before the inside cooks. If you don’t have a thermometer, hold your hand about 6 inches above the surface — you should only be able to keep it there for 2 to 3 seconds before it’s too uncomfortable.
Final Thoughts
A good burger press is one of those accessories that seems optional until you use one, and then you can’t imagine cooking without it. If you’re making smash burgers on your Blackstone — and you should be, because they’re incredible — get yourself a proper cast iron press with a heat-resistant handle. It’ll make the process easier, your results more consistent, and your burgers significantly better.
I’ve been using mine constantly since I figured out the right technique, and the difference between a properly smashed burger with that deep brown crust and a regular grilled burger is night and day. The crust is where all the flavor lives, and you need a good press to get it right.
Any of the presses I mentioned will do the job. If you want the safest bet, go with the official Blackstone press or a classic cast iron grill press with a wood handle. If you’re on a budget, the Lodge press is totally fine — you’ll just need a towel for the handle. The important thing is getting something with real weight and heat resistance.
Now get out there and make some smash burgers. Your Blackstone griddle is waiting.