How to Clean Blackstone Griddle After Cooking (Easy Guide)
Look, I’m just going to say it: the first time I cooked on my Blackstone griddle back in April, I made the most incredible smash burgers I’ve ever eaten in my life. The second thing I did was stare at the greasy, food-covered surface afterward and think “well, crap, now what?” I had no idea how to clean this thing, and honestly, I was terrified I was going to ruin it. Fast forward a few weeks, and I’ve learned that cleaning a Blackstone after cooking is actually way easier than I thought, and kind of satisfying once you get the hang of it. Let me walk you through exactly what I do after every cook.
What You’ll Need to Clean Your Blackstone After Cooking
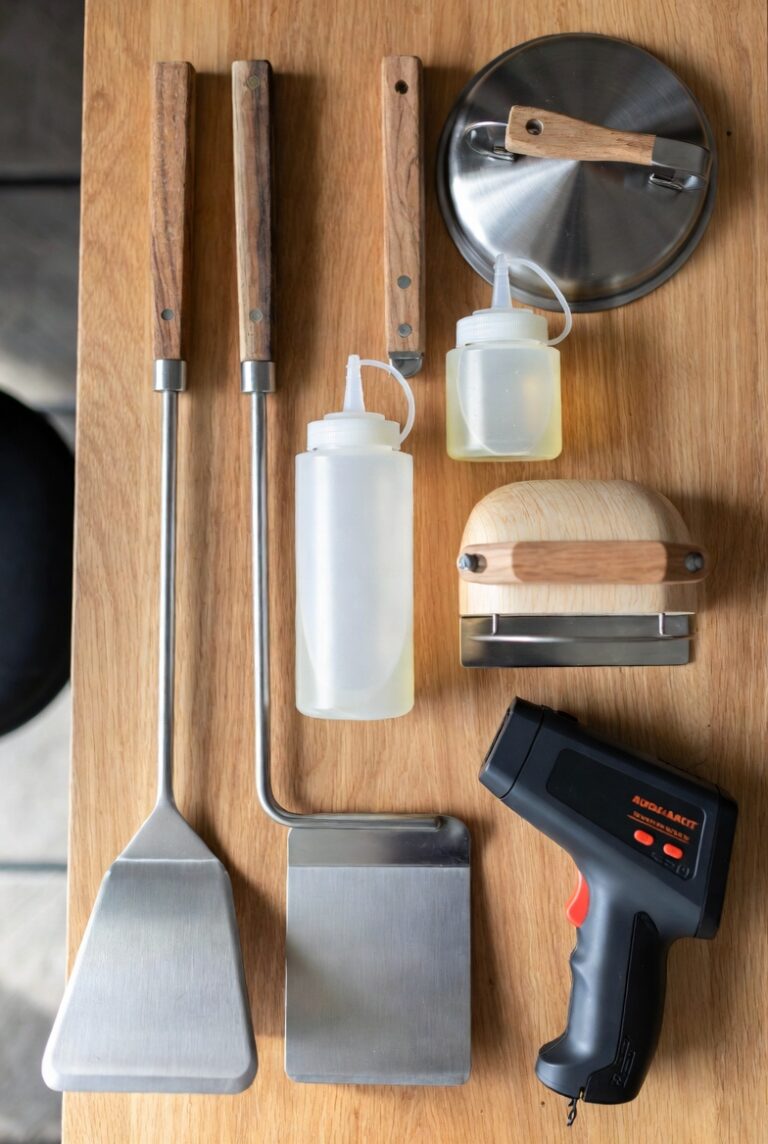
Here’s what I keep in a plastic bin next to my griddle. Having everything in one place makes the whole process so much faster.
- Metal scraper (the one that came with my Blackstone works great)
- Griddle cleaning tool or grill stone (I use both depending on the mess)
- Paper towels (I go through a lot of these)
- Water in a squirt bottle
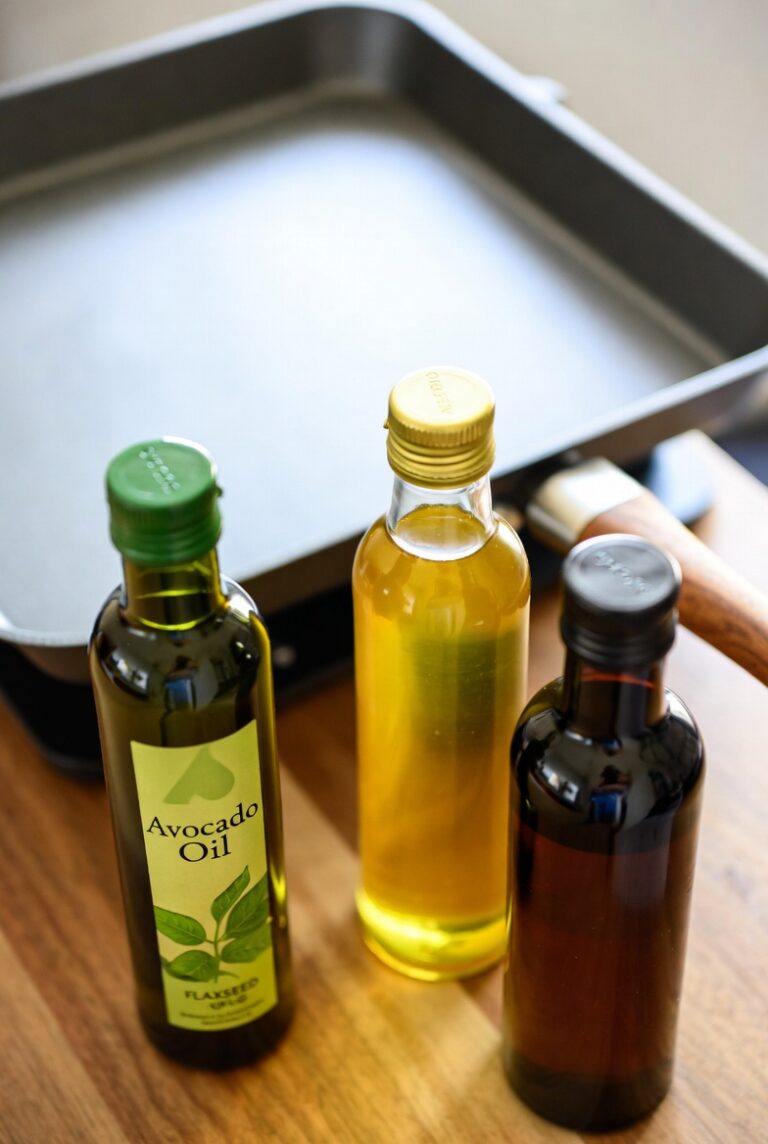
- Cooking oil (vegetable, canola, or Blackstone’s own seasoning oil)
- Heat-resistant gloves (seriously, don’t skip these)
- Grease cup liners (makes your life so much easier)
- Optional: Blackstone griddle cleaning solution if you’ve got stubborn stuck-on food
Step-by-Step: How to Clean Your Blackstone After Cooking
Step 1: Let the Griddle Cool Down (But Not All the Way)
This is where I messed up the first time. I let my griddle get completely cold, thinking it would be safer to clean. Wrong. You actually want to clean your Blackstone while it’s still warm, not screaming hot, but definitely warm. I usually turn off the burners and wait about 3-5 minutes after I’m done cooking. The surface should be around 300-350°F, warm enough that water will still sizzle but not so hot that you can’t work near it comfortably with gloves on. If you want to be precise about it, I keep a dual probe infrared thermometer handy to check the surface temperature.
If you let it cool completely, all that grease and food residue hardens up and becomes ten times harder to remove. Trust me on this one.
Step 2: Scrape While It’s Warm
Put your heat-resistant gloves on. I cannot stress this enough. I tried doing this without gloves once and nearly took the skin off my knuckles on the hot surface.
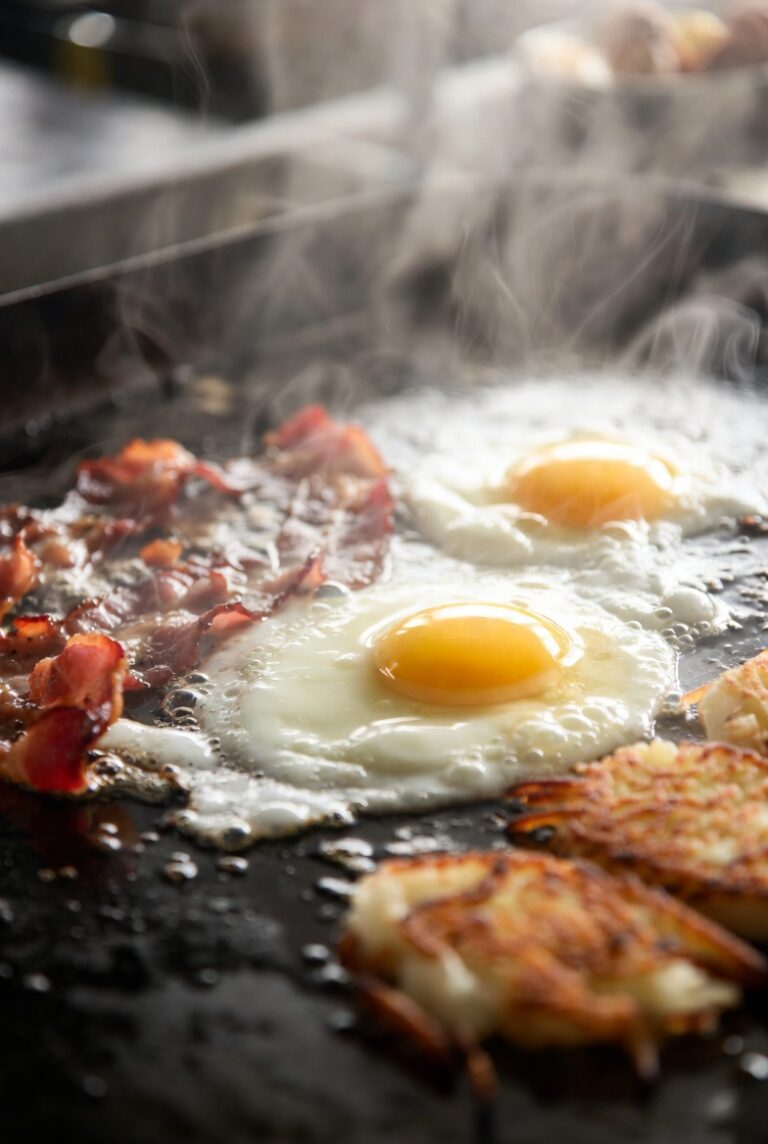
Take your metal scraper and start pushing all the food bits, grease, and debris toward the grease trap. I use long, smooth strokes from back to front. All that stuff you’re scraping off is going to look pretty gross, which honestly made me feel better about getting it off the cooking surface. The first time I did this after making breakfast, I was shocked at how much bacon residue came off.
Get the big stuff into the grease trap first. Don’t worry about getting the surface perfect yet. We’re just doing the heavy lifting right now.
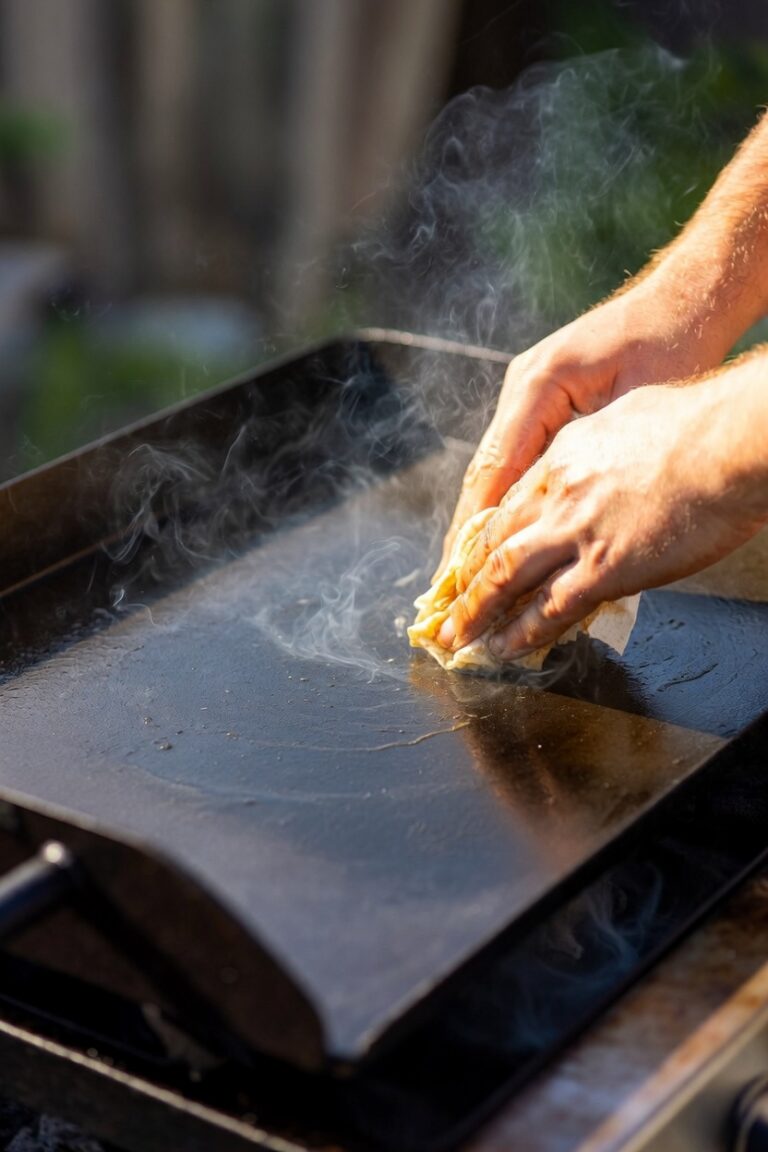
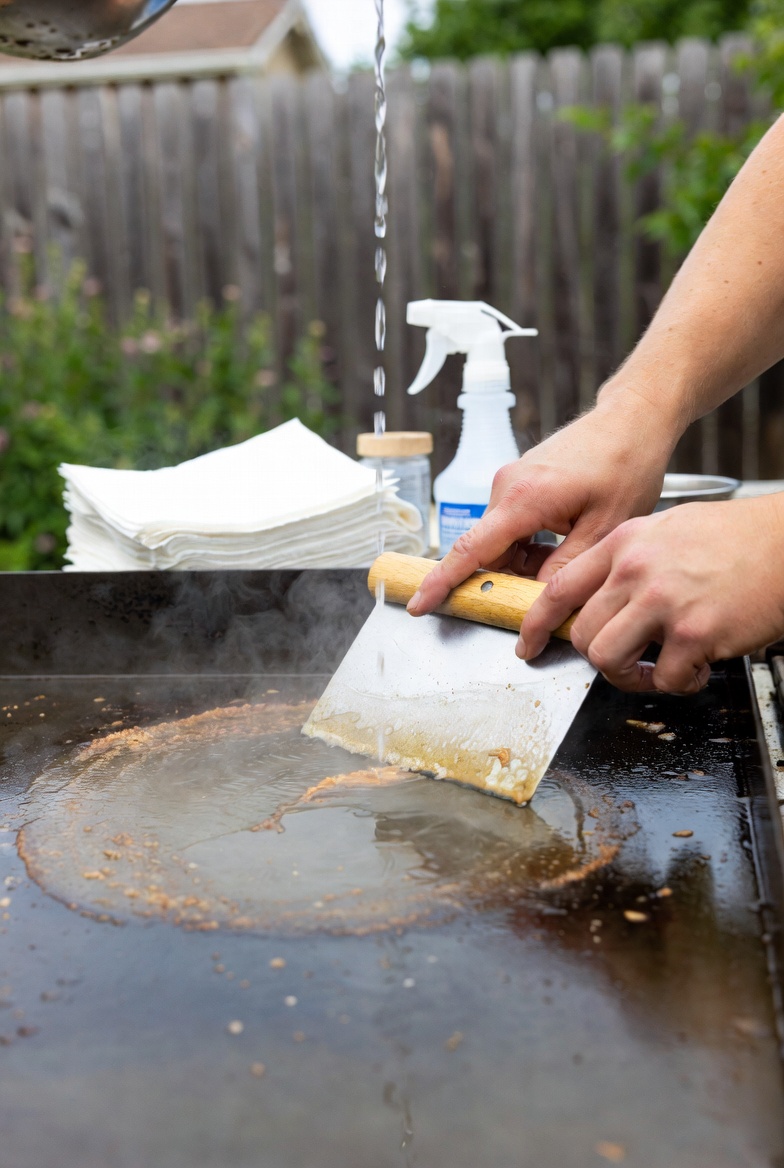
Step 3: Add Water to Steam Clean
This is the part that feels like magic. With the griddle still warm (I’m talking around 300°F), take your squirt bottle and squeeze a good amount of water onto the surface. I actually keep my water in restaurant squeeze bottles because they give you better control over how much water you’re adding and they hold up way better than cheap plastic bottles. You’ll get this immediate sizzling steam action that lifts up all the cooked-on residue.
The first time I did this, both dogs came running from inside the house because it makes this dramatic hissing sound. Now Bronco and Gunner just watch from the deck like they’re supervising.
Use your scraper to work the water around the entire surface. The steam is doing most of the work, loosening everything up. Keep scraping and pushing the dirty water toward the grease trap. You might need to do this 2-3 times depending on what you cooked. Breakfast usually needs more passes than burgers for some reason.
Step 4: Use Your Griddle Stone or Cleaning Tool
Once you’ve scraped off the bulk of the mess, this is where I use my grill stone. It’s basically a pumice-like block that you rub on the griddle surface to get off any stubborn spots. The griddle should still be warm for this, maybe around 250-275°F.
I wet the stone slightly and work it in circular motions on any areas that still look dirty or have stuck-on food. The stone breaks down as you use it, which felt weird the first time but that’s how it’s supposed to work. It basically sacrifices itself to clean your griddle, which I respect.
For really stubborn spots, I’ve found that adding a tiny bit of water to the area and then using the stone works better than going in dry.
Step 5: Do a Final Scrape and Wipe
Scrape everything one more time toward the grease trap. Then take some paper towels and wipe down the entire surface. I probably use 4-5 paper towels for this step on my 36-inch griddle. The goal is to get the surface completely dry and pick up any remaining debris.
This is also when I check the grease trap and replace the liner if it’s full. I swear by Blackstone grease trap liners because they’re worth every penny—the alternative is washing out a cup full of solidified grease, and that’s just not something I want in my life.
Step 6: Apply a Thin Layer of Oil
This is the most important step and the one I almost skipped the first time. Once your griddle is clean and dry, while it’s still warm (around 200-250°F), pour a small amount of oil on the surface. I use about 1-2 tablespoons for my 36-inch griddle.
Use a clean paper towel or cloth to spread the oil in a very thin, even layer across the entire cooking surface. You want it to look almost dry, not pooled up or shiny. If you can see puddles, you’ve used too much. Wipe off the excess.
This oil layer protects the seasoning you’ve built up and prevents rust. The griddle will absorb the oil as it cools down. The surface should look dark and slightly satiny when you’re done.
Step 7: Turn Off and Let It Cool
Turn off your propane tank and let everything cool down completely. I usually leave the lid open for the first 20 minutes or so to let any remaining moisture evaporate, then close it once it’s cool.
Pro Tips I’ve Picked Up
The timing of your cleaning matters way more than I thought. That sweet spot of warm-but-not-hot makes everything easier. If I’m doing multiple cooks back to back, I do a quick scrape and wipe between foods but save the full clean for after everything is done.
Keep extra paper towels nearby. I made the mistake of running out mid-clean once and had to run inside with greasy gloves, which Sierra was not thrilled about.
The grease trap is easier to empty when it’s still slightly warm but not hot. The grease pours out instead of having to scoop it.
Don’t use dish soap unless you’re doing a deep clean or trying to fix a seasoning problem. For regular after-cooking cleaning, soap strips away the seasoning you’re working to build up. Just scrape, steam, and oil.
I keep my oil and paper towels in a weatherproof container right next to the griddle. The fewer trips back and forth to the house, the more likely I am to actually do the proper cleaning.
Common Mistakes to Avoid
Waiting too long to clean is the biggest one. I did this exactly once and regretted it for the entire 45 minutes it took me to scrape off hardened cheese and eggs the next day. Clean while it’s warm. Always.
Using too much water at once creates a huge steam cloud that’s actually kind of scary. I learned to add water gradually instead of dumping half the bottle on there at once.
Skipping the final oil layer is asking for rust. I learned this when I forgot to oil after cooking one night and came out the next morning to find small rust spots starting to form. Not a huge deal to fix, but definitely avoidable.
Putting the cover on while the griddle is still hot traps moisture and can lead to rust issues. Let it cool down first. I usually do my cleaning, come inside for 20-30 minutes, then go back out to cover it.
Using metal wool or harsh abrasives will damage your seasoning. Stick with the scraper and griddle stone. They’re designed specifically for this.
Not wearing gloves is just asking for burns. The griddle surface and the tools stay hot longer than you think.
What If You Have Stubborn Stuck-On Food?
The first time I made quesadillas on my Blackstone, I had cheese welded onto the surface like it was permanently attached. Here’s what worked: I heated the griddle back up to about 350°F, added water to create steam over the stuck spot, and used my scraper at a low angle to get under the food. The heat and moisture combo usually loosens even the worst spots.
For really stubborn areas, I’ve used the Blackstone cleaning solution. You put a small amount on the warm griddle, let it sit for a minute, then scrape. It’s basically a degreaser made specifically for griddles. I don’t need it every time, but it’s good to have on hand.
How Long Does This Whole Process Take?
From turning off the burners to applying the final oil layer, the whole cleaning process takes me about 10-12 minutes now. The first time took probably 25 minutes because I was figuring it out as I went and being overly cautious. It’s really not bad at all, especially compared to cleaning a regular grill with all those grates.
Frequently Asked Questions
Do I need to clean my Blackstone after every use?
Yes, you should at least do a basic scrape and oil after every cook. It takes 10 minutes and prevents way bigger problems down the road. I think of it like doing dishes after dinner. You could let them sit, but why make more work for yourself later?
Can I use soap to clean my Blackstone?
For regular cleaning after cooking, no. Soap strips the seasoning. The only time I’d use soap is if I was doing a complete deep clean and re-seasoning, or if I had some kind of major issue. For normal use, just scrape, steam with water, and oil.
What temperature should the griddle be for cleaning?
I aim for around 300-350°F for the initial scraping and water steaming. As you work through the cleaning process, it naturally cools down. By the time I’m doing the final oil application, it’s usually around 200-250°F. You want it warm enough that water still sizzles, but not so hot you can’t work safely.
How much oil should I use when I’m done cleaning?
Less than you think. For my 36-inch griddle, I use maybe 1-2 tablespoons total. You want a thin layer that looks almost dry, not a puddle. If it looks shiny or wet, you’ve used too much. Wipe off the excess with a clean paper towel.
What kind of oil is best for the final coating?
I’ve used vegetable oil, canola oil, and Blackstone’s seasoning oil. They all work fine. Some people have strong opinions about this, but honestly, for the post-cooking oil layer, I just use whatever I have. I keep a bottle of vegetable oil in my outdoor storage bin specifically for this.
Can I let my Blackstone cool completely before cleaning?
You can, but you’re making way more work for yourself. Cold grease and food residue is so much harder to remove. The warm surface makes everything scrape off easily. Just wait a few minutes after cooking so it’s not dangerously hot, then clean while it’s still warm.
What do I do with the grease I scrape into the trap?
I use grease cup liners, which are basically aluminum cups that fit in the grease trap. When they’re full, I let them cool and solidify, then toss the whole thing in the trash. Way easier than trying to clean out the grease cup itself. You can also pour the grease into a can or jar once it cools if you want to save it for other cooking.
How do I know if I’m cleaning it properly?
The surface should be dark, smooth, and have a slight sheen after you oil it. There shouldn’t be any visible food debris or sticky spots. If you run your hand over it (when it’s cool), it should feel smooth, not rough or crusty. It’s also okay if it’s not perfectly uniform in color. That’s normal as the seasoning builds up.
What if I see rust spots after cleaning?
Small rust spots can happen if moisture gets trapped or if you forget the oil layer. It happened to me once. You can scrub them off with your griddle stone, then re-season that area. It’s not the end of the world. The oil layer after cleaning is your best defense against rust.
Why Proper Cleaning Actually Matters
I’ll be honest, the first couple times I used my Blackstone, I was tempted to just scrape off the big chunks and call it good. But I’ve learned that proper cleaning after every cook does two important things: it maintains the seasoning layer you’re building up, and it prevents flavor transfer between different foods.
That seasoning is what makes a Blackstone griddle so good. It’s a protective layer that gets better over time, makes food not stick, and gives you that restaurant-quality sear. Every time you clean properly and add that thin oil layer, you’re contributing to that seasoning. When you skip it or use soap, you’re working against yourself.
The other thing is flavor. I learned this when I made fish one night and didn’t clean thoroughly, then made pancakes the next morning. Yeah. Don’t do that. A proper cleaning means your breakfast doesn’t taste like last night’s dinner.
Final Thoughts
Cleaning a Blackstone after cooking is one of those things that seems intimidating until you do it a few times. Now it’s just part of my routine, like turning off the propane and putting the cover on. The whole process takes about the same amount of time as loading the dishwasher, and it’s way less annoying than scrubbing grill grates.
The key things to remember: clean while it’s still warm, use water to steam clean stubborn spots, scrape everything into the grease trap, and always finish with a thin layer of oil. Do those things and your griddle will be ready to go for the next cook.
I was genuinely worried I’d mess up my Blackstone by cleaning it wrong, but it’s actually pretty forgiving. The warm-scrape-steam-oil routine works every single time, whether I’ve made a simple breakfast or something messy like smash burgers with all the toppings.
Now I actually look forward to the cleaning process because it means I get to inspect the seasoning I’m building up and see how the surface is getting better with each use. Plus, there’s something satisfying about taking a greasy, food-covered surface and getting it back to that clean, dark, slightly oiled finish.
If you just got your Blackstone or you’ve been avoiding proper cleaning because it seemed complicated, I promise it’s easier than you think. Give this process a try next time you cook. Your griddle will last longer, cook better, and you won’t be dealing with stuck-on food from three cookouts ago.