Blackstone Griddle Seasoning Tips That Actually Work
Okay, so I bought my first Blackstone in April and before I even fired it up, I did what any reasonable person does — I went down a YouTube rabbit hole trying to figure out how to season it properly. What I found was different opinions on the “right” way to do it, half of which contradicted each other. Some guys said flaxseed oil only, others said any oil works. Some said three layers, others said six. It was genuinely confusing.
So I took what made the most sense, tested it myself, and here’s what actually works. No trial and error horror stories — just the straightforward method that gave me a beautiful dark non-stick surface from the start.
Why Seasoning Your Blackstone Actually Matters
Before I got my griddle, I thought seasoning was just some optional thing people did to feel fancy about their cooking equipment. Nope. It’s absolutely essential. Seasoning creates a protective layer on the steel surface that prevents rust and keeps food from sticking. Without it, you’re basically cooking on bare metal that’ll rust the second you look at it wrong, and everything you cook will weld itself to the surface.
The seasoning layer is actually polymerized oil—which sounds super scientific but basically means you’re baking oil onto the griddle at high heat until it bonds with the steel and creates a hard, non-stick surface. Each time you season, you add another thin layer, building up that protective coating. When it’s done right, you get this beautiful dark surface that’s naturally non-stick and protects your griddle from the elements.
What You’ll Need for Seasoning
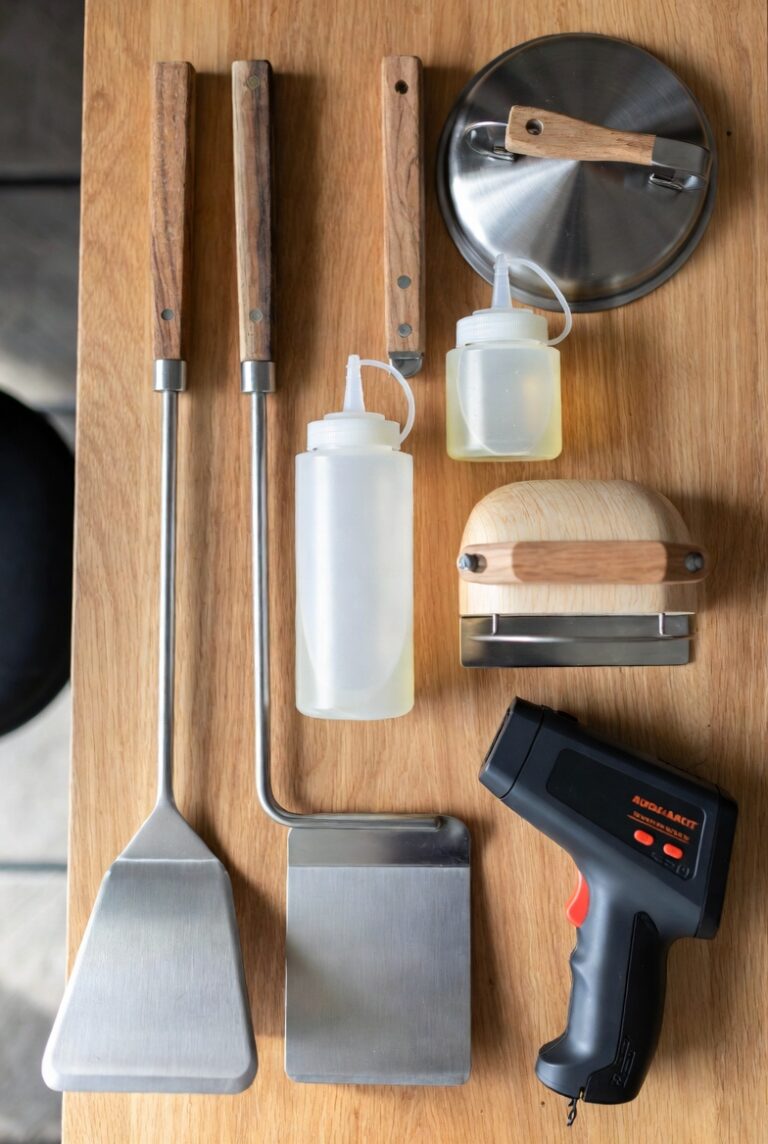
Here’s what you need to gather before you start. Nothing fancy or expensive:
- High smoke point oil (I use Blackstone’s own seasoning oil now, but avocado oil, flaxseed oil, or even canola work fine)
- Paper towels (lots of them—like half a roll)
- Heat-resistant gloves or tongs to hold the paper towels
- Your Blackstone griddle (obviously)
- Propane tank with gas in it (learned that one the hard way on my second attempt)
Some people will tell you that you absolutely must use flaxseed oil or some specific brand that costs twenty bucks a bottle. Honestly? I’ve had good results with different oils. The key is making sure whatever you use has a high smoke point—above 400 degrees. That’s what allows it to polymerize properly.
Step-by-Step Seasoning Instructions
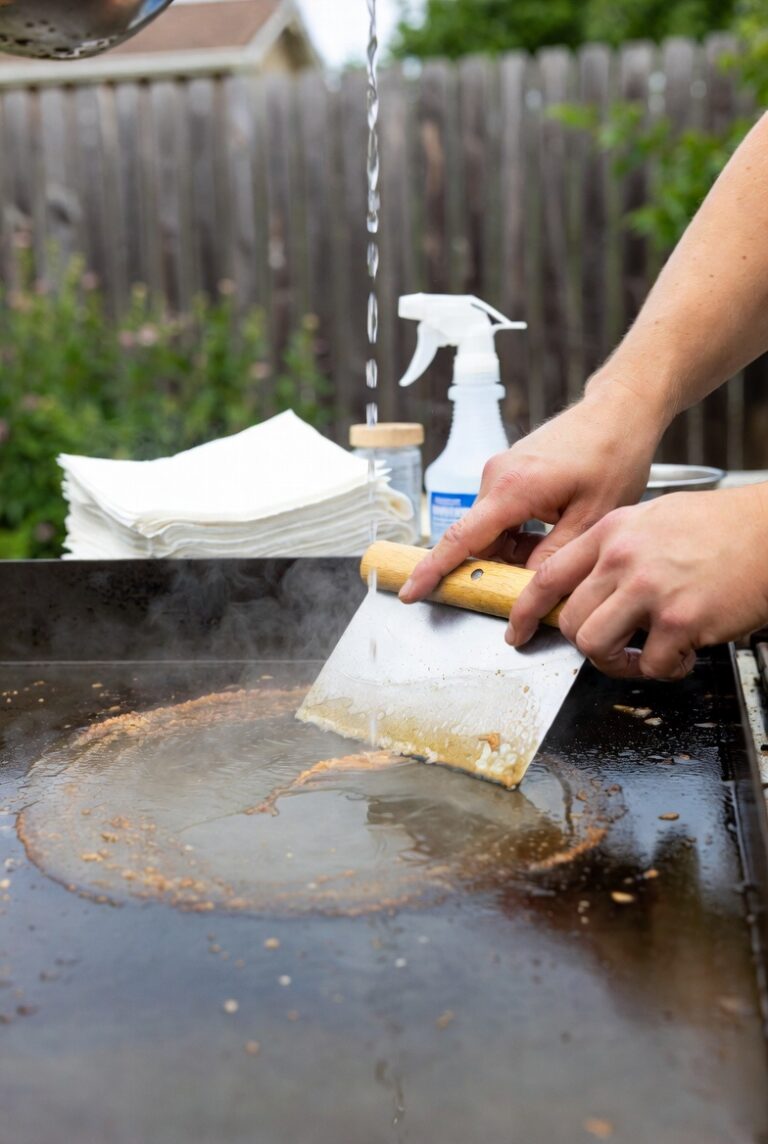
Step 1: Start with a Clean Surface
If your griddle is brand new like mine was in April, it comes with a protective coating from the factory that you need to remove. Turn all your burners to high and let it heat up for about 15 minutes. This will loosen up that factory coating. Then use paper towels or a cloth to wipe it all off. It’ll look kind of gross and brown—that’s normal.
If you’re re-seasoning like I had to do after my first disaster, you want a completely clean, dry surface. No food particles, no sticky spots, nothing. Just bare metal.
Step 2: Heat Management
This is where I screwed up the first time. I had the heat way too high for way too long, and the oil started smoking like crazy before it could bond properly. Here’s what actually works:
Turn all your burners to high and let the griddle heat up until you see it start to change color slightly—maybe 10 minutes. You want it hot, but you’re not trying to launch a rocket here. The surface temperature should be around 500 degrees. If you have a dual probe infrared thermometer, that’s helpful for checking the exact temperature, but I didn’t have one at first and I’ve managed fine just watching for that slight color change.
Step 3: First Oil Application
Once your griddle is heated up, turn the burners down to medium-low. This is important—you want heat, but not blazing inferno heat. Pour about a tablespoon of oil in the center of each burner zone. You don’t need much. I way over-oiled my first attempt and it turned into a sticky nightmare.
Using your tongs with a paper towel (or wearing heat-resistant gloves), spread that oil in thin, even coats across the entire surface. I mean thin. If you can see puddles, you used too much. The goal is an almost invisible layer of oil covering every inch of the griddle top. Get the edges, the sides, everywhere. Having some restaurant squeeze bottles makes applying small amounts of oil way more controlled—I picked up a set after my first messy attempt and they’ve been a game changer for both seasoning and regular cooking.
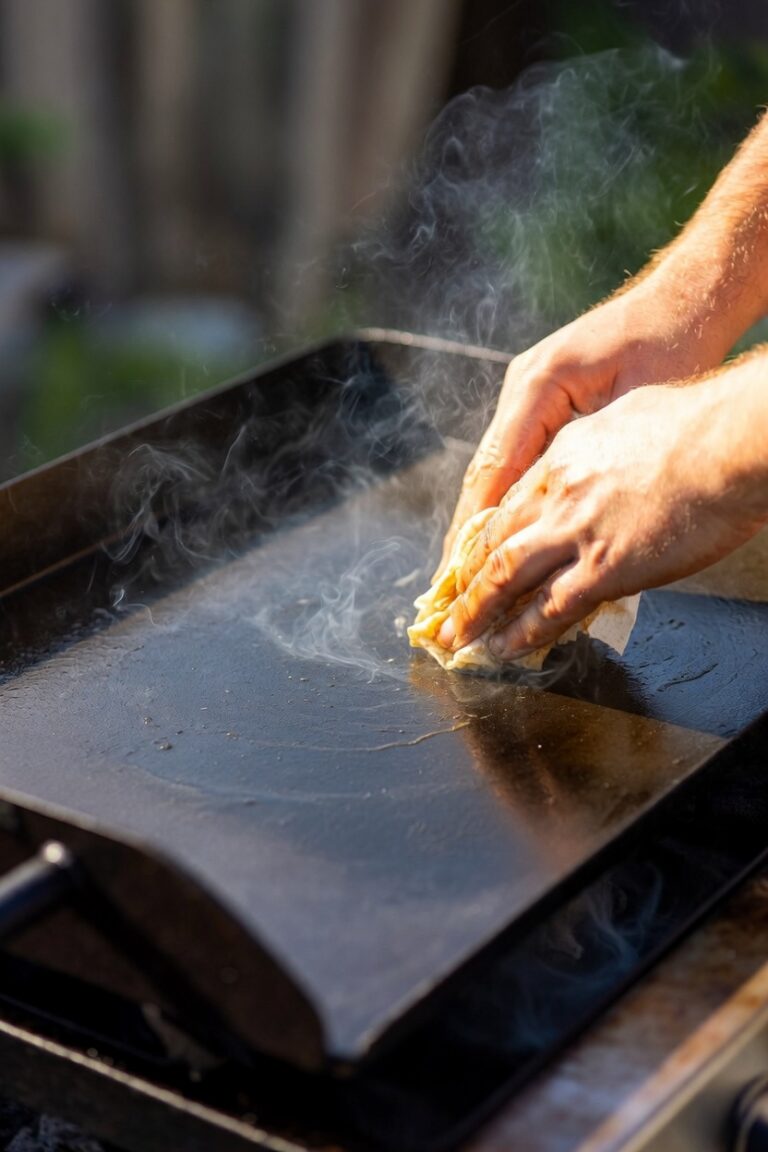
Step 4: Let It Smoke
Once you’ve spread the oil thin, turn the burners back up to high. The oil is going to start smoking. That’s exactly what you want. That smoke is the oil breaking down and bonding to the steel. It’s going to smoke a lot. My dogs, Bronco and Gunner, were absolutely losing their minds the first time I did this properly because they thought something was burning. Sierra came outside twice asking if everything was okay.
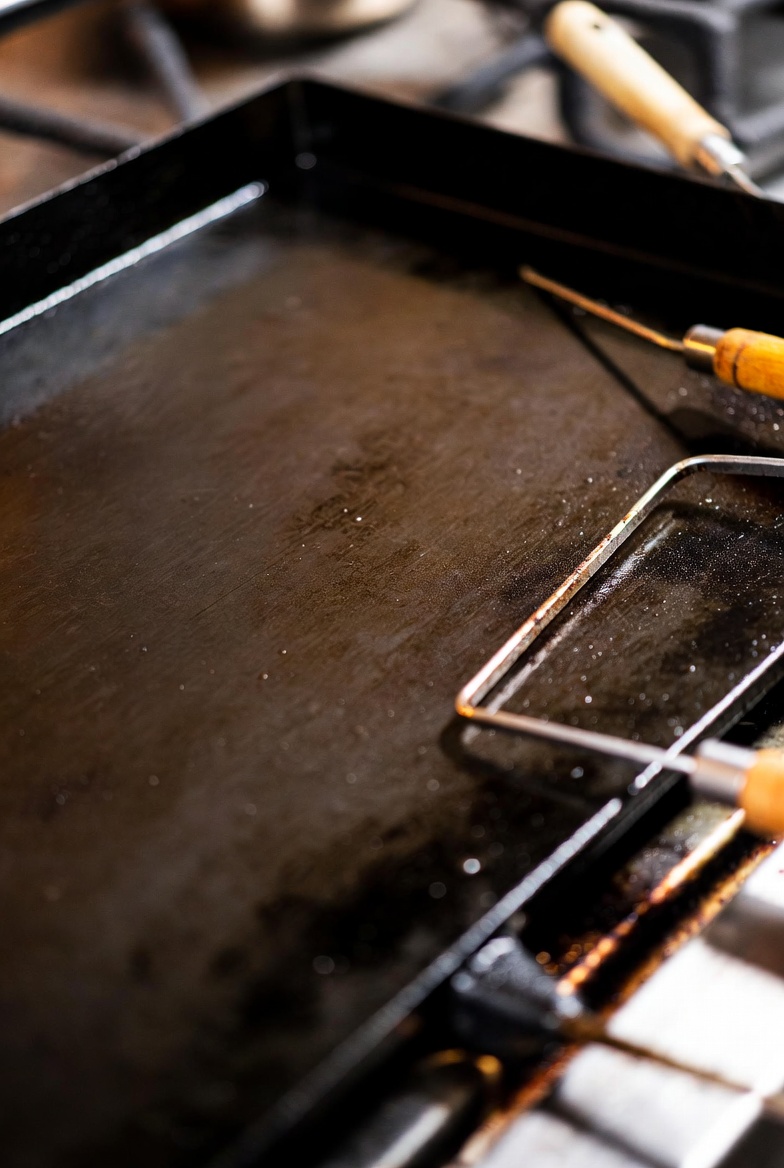
Let it smoke until the smoking stops—usually about 15 minutes. When the smoke clears, that layer is done. The griddle will look slightly darker and might have some bronze or brown tones. Perfect.
Step 5: Repeat the Process
Here’s the thing nobody tells you until you’ve already messed up: one layer isn’t enough. You need multiple layers to build up a good seasoning. I do at least four layers when I’m starting fresh. Some people say three is fine, others go up to six. I’ve found four gives me a solid base that actually keeps food from sticking.
For each additional layer, let the griddle cool down just slightly—maybe turn the burners to low for a minute or two—then repeat the oil application process. Thin layer, spread it everywhere, crank the heat back to high, let it smoke until it stops. Repeat.
The whole process takes me about an hour and a half for four layers. It’s not quick, but it’s worth it.
Step 6: Final Cooldown
After your final layer has smoked out, turn off all the burners and let the griddle cool down naturally. Don’t pour water on it or try to speed up the cooling. Just let it sit. When it’s cool enough to touch, you can wipe it down with a tiny bit of oil on a paper towel—like barely any oil—just to add a protective layer for storage.
Pro Tips I Wish Someone Had Told Me
Less oil is always better than more oil. This was my biggest mistake initially. I thought more oil meant better protection. Nope. Too much oil doesn’t polymerize properly and you end up with a sticky, gummy surface that actually makes cooking worse. Think about oiling a pan—you want a light coating, not a pool.
Do this outside or in a very well-ventilated area. The smoking phase produces a lot of smoke. I mean a lot. Don’t try to do this in your garage with the door half-open thinking that’ll be fine. It won’t. I did my first proper seasoning on a nice April evening in the backyard, and I’m glad I did because my neighbors probably thought I was having a bonfire.
The color won’t be perfectly uniform at first. I stressed about this way more than I should have. After my first proper seasoning, the griddle had some areas that were darker brown and some that were lighter. I thought I’d messed up again. But after a few cooking sessions, it all evened out. Different areas heat slightly differently, and that’s fine.
Temperature consistency matters more than exact temperature. I kept worrying about hitting exactly 500 degrees or whatever number I’d read online. But what really matters is keeping the temperature consistent across the whole cook surface and not cranking it so high that the oil burns off before it can polymerize. Medium-high to high heat works. You’ll figure out your specific griddle’s sweet spot.
Paper towels work better than cloths for spreading oil. Cloths can absorb too much oil and don’t give you the control you need for those super thin layers. Paper towels let you really work the oil into the surface without over-applying.
Common Seasoning Mistakes (That I Definitely Made)
Using Too Much Oil
I’m putting this first because it’s the most common problem and it’s exactly what I did wrong. When you use too much oil, it can’t polymerize correctly. Instead of bonding to the steel, it just sits on top and gets sticky and gross. Your food will stick to it, and you’ll be scraping off gummy residue instead of cooking. If you mess this up like I did, you’ll need to strip the griddle and start over. Use way less oil than you think you need.
Not Heating It Enough Between Layers
Each layer needs to fully polymerize before you add the next one. That means heating it until it stops smoking completely. I got impatient on my second layer during my first real attempt and added more oil while the previous layer was still smoking. Bad call. It created an uneven surface that needed fixing later.
Skipping Layers
One or two layers isn’t enough for a new griddle. You’re not building adequate protection, and you’ll end up with rust spots or sticking issues. I know it’s tempting to rush through this so you can start cooking, but doing four solid layers from the start saves you headaches later.
Using Low Smoke Point Oils
Butter, olive oil, regular vegetable oil with low smoke points—these don’t work well for seasoning. They’ll burn off before they can properly bond, or they’ll create a weak seasoning layer that flakes off. Stick with high smoke point oils designed for high heat cooking.
Seasoning in Humid Weather
Okay, this one I learned from reading after I’d already started, not from experience yet since I’ve only had the griddle since April. But apparently seasoning in really humid conditions can affect how well the oil polymerizes. If you can, pick a dry day. If you can’t, it’ll still work, just maybe not quite as perfectly.
How to Maintain Your Seasoning
The good news is that after you do that initial seasoning right, maintenance is pretty easy. After each cook, while the griddle is still warm, I scrape off any food debris with my spatula, wipe it down with a paper towel, and then apply a super thin layer of oil. That’s it. You’re basically adding micro-layers of seasoning every time you cook and clean. I also highly recommend using Blackstone griddle seasoning conditioner for this maintenance step—it’s specifically formulated for high-heat seasoning and makes the whole process foolproof.
If you notice any spots that look lighter or where food starts sticking, you can do a quick single-layer re-seasoning on just that spot. Heat it up, apply a thin layer of oil to the problem area, let it smoke out, done.
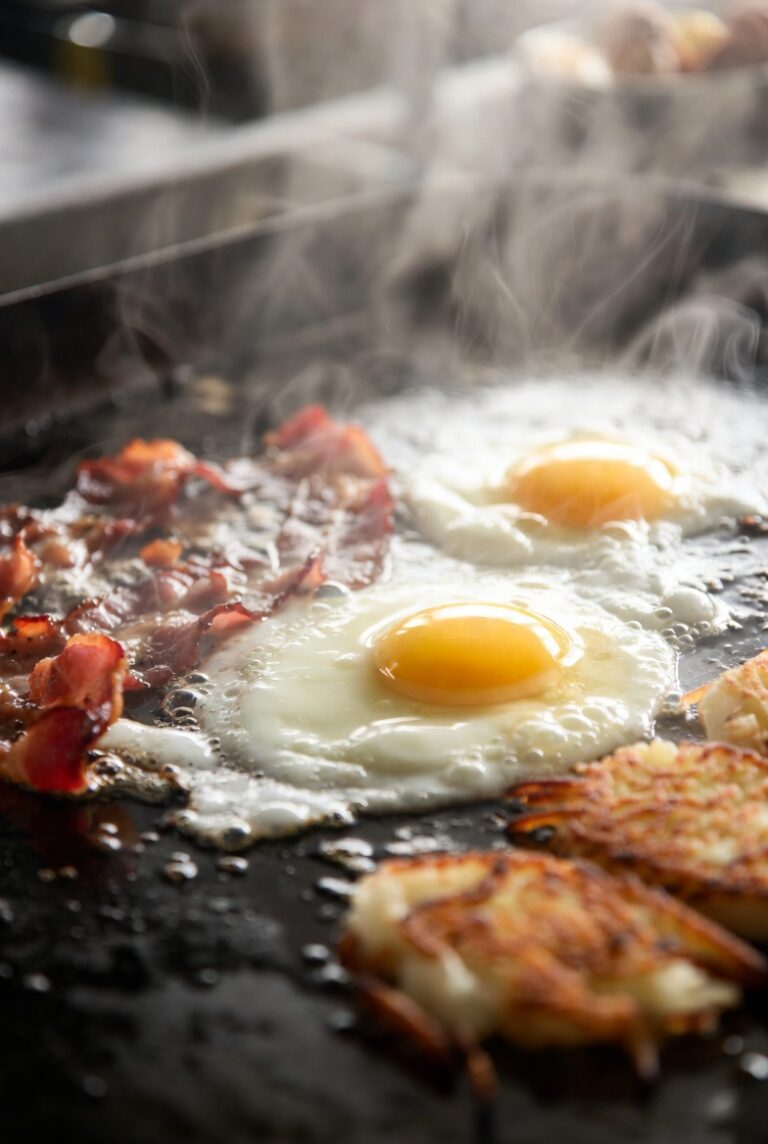
The more you cook on your Blackstone, the better the seasoning gets. Foods with fat content—bacon, burgers, anything greasy—actually help build up that seasoning layer naturally. I’ve noticed my griddle getting darker and more non-stick with each use over these past few weeks.
Frequently Asked Questions
How often do I need to re-season my Blackstone?
If you’re maintaining it properly after each cook, you shouldn’t need to do a full re-seasoning very often. Maybe once or twice a year if you use it regularly, or if you notice the surface starting to look dull or food sticking more than usual. I haven’t needed to do a full re-season since I got it right in April, just regular maintenance after cooking.
Can I use olive oil for seasoning?
Regular olive oil has too low of a smoke point for seasoning. It’ll burn before it polymerizes properly. If you’re going to use olive oil, it needs to be light or refined olive oil with a higher smoke point. But honestly, there are better options like avocado oil, flaxseed, or Blackstone’s seasoning oil that are specifically designed for this.
What if my seasoning is sticky?
You used too much oil. I did this and it sucks, but it’s fixable. Heat up the griddle and use paper towels to wipe off as much of the sticky residue as you can while it’s warm. Then do a proper seasoning layer with way less oil. If it’s really bad, you might need to strip it completely and start over.
Why does my seasoning look blotchy?
This is totally normal, especially at first. Different areas of the griddle heat slightly differently, and the seasoning reflects that. As you cook more and add those micro-layers of seasoning with regular use, it’ll even out. Mine looked super blotchy after my first proper seasoning and now it’s much more uniform after several cooking sessions.
Do I need to season the sides and back of the griddle?
You should season any exposed steel to prevent rust. I do a quick pass on the edges and sides when I’m seasoning the main cooking surface. You don’t need to be as thorough as the top surface, but hitting those areas with oil helps protect them.
Can I season my griddle in cold weather?
Yeah, the heat from the burners is what matters, not the ambient temperature. It might take a bit longer to heat up in cold weather, but the seasoning process works the same. I did mine in April when we still had some cool evenings here in Connecticut, and it was fine.
What’s the black stuff coming off my newly seasoned griddle?
That’s normal for the first few cooks. It’s excess seasoning that didn’t fully bond, and it’ll work itself off as you cook. Just wipe it away with paper towels. It’s not hurting anything, and it’ll stop happening after a few uses.
When to Strip and Re-Season Completely
Most of the time, you can fix seasoning issues with spot treatments or an extra layer here and there. But there are times when you need to start completely fresh. If you’ve got rust spots spreading, or if the seasoning is peeling off in chunks, or if you’ve got that sticky gummy layer that won’t come off with normal cleaning, it’s time to strip it down to bare metal and start over.
I haven’t had to do a complete strip since my initial mistake, and hopefully won’t have to for a long time if I keep up with the maintenance. But it’s good to know it’s an option if things go really wrong.
Final Thoughts
Seasoning a Blackstone properly is honestly one of the most important things you’ll do with your griddle. It’s not complicated, but it does require patience and attention to detail. Use thin layers of high smoke point oil, heat it properly between each layer, and don’t rush the process. Yeah, it takes an hour or two upfront, but it sets you up for months of great cooking.
I learned all of this the hard way by messing up my first attempt, stripping it down, and doing it right the second time. Now my griddle has this beautiful dark surface that nothing sticks to, and it’s getting better with every cook. The smash burgers I made last weekend literally slid around like they were on ice. That’s what proper seasoning does.
Take your time with it, use less oil than you think you need, and let each layer fully smoke out before adding the next one. Your future self will thank you when you’re flipping perfect pancakes or smashing burgers that release from the griddle like it’s coated in teflon. Totally worth the effort upfront.